Introduction
pfSense CE is a free, open-source, and very popular firewall/router that runs on FreeBSD and is developed by Netgate. Even though Netgate sells official pfSense appliances, it’s possible to build your own, custom-made pfSense box for (way) less money (at the expense of way less support from Netgate).
In this article, I talked about my ASRock mini-ITX pfSense box project. In the first part, I listed all the necessary hardware to build the box, and in the second part, I briefly talked about the software.
Hardware
This project has five main hardware components, namely the motherboard (mobo), the network interface card (NIC), storage, case, and power supply unit (PSU).
Motherboard
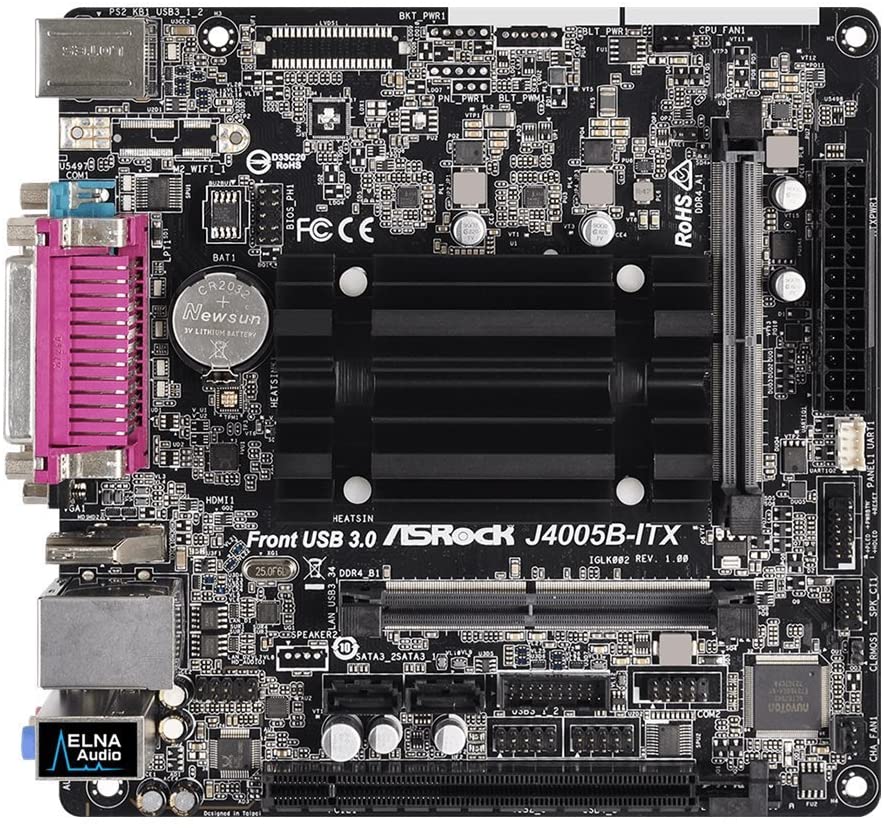
Chances are that if you search for pfSense white-box, you’ll find someone mentioning the ASRock J3355b-itx. This is definitely not a top of the line mobo but it comes with a passively cooled Intel dual-core processor (AES-NI enabled), two SO-DIMM DDR3L memory slots, a PCIe 2.0x16 expansion slot, and 2x SATA III ports. On top of that, this is a mini-ITX mobo, so we can put it inside a low-profile case. At the very least, if you’re looking for a more recent mobo, my suggestion is to use the ASRock J3355b-itx as reference.
Network interface card
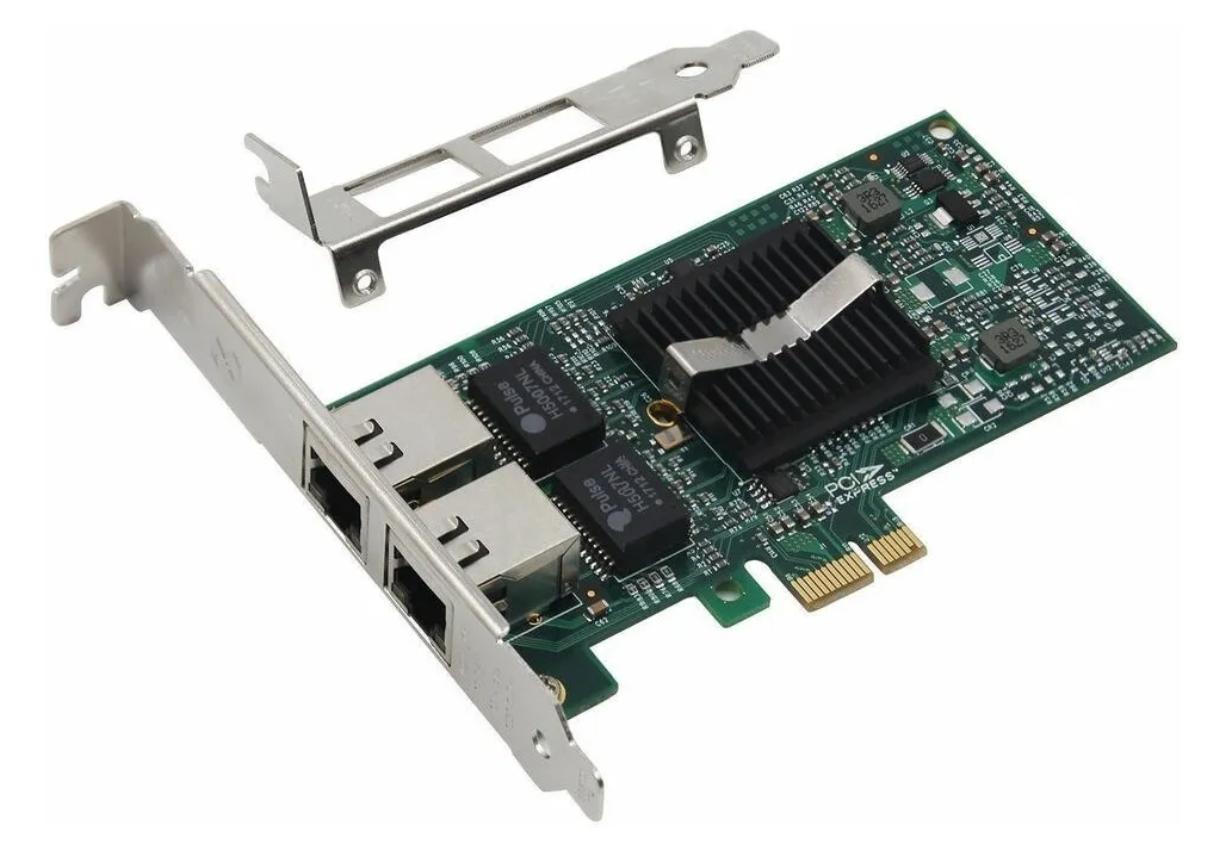
Even though the ASRock mini-itx comes with a built-in NIC, it’s a single port Realtek NIC that pfSense will likely not recognize out of the box. Ideally, you’d buy and install an Intel NIC using the PCI-e expansion slot on the ASRock mobo. The card choice depends on your needs but at the very least, consider a Gigabit Intel NIC with two ports, one for WAN and another for LAN. (It’s possible to use a single port with a VLAN-capable switch but this is a far more complex setup.) Also, make sure the Intel NIC comes with a low-profile support or it won’t fit many min-ITX cases.
Storage
pfSense uses very little storage space, so you don’t need TBs of storage here. The things that matter are read/write speed and reliability. A simple 120GB solid-state drive (SSD) will be more than enough, for example.
Case
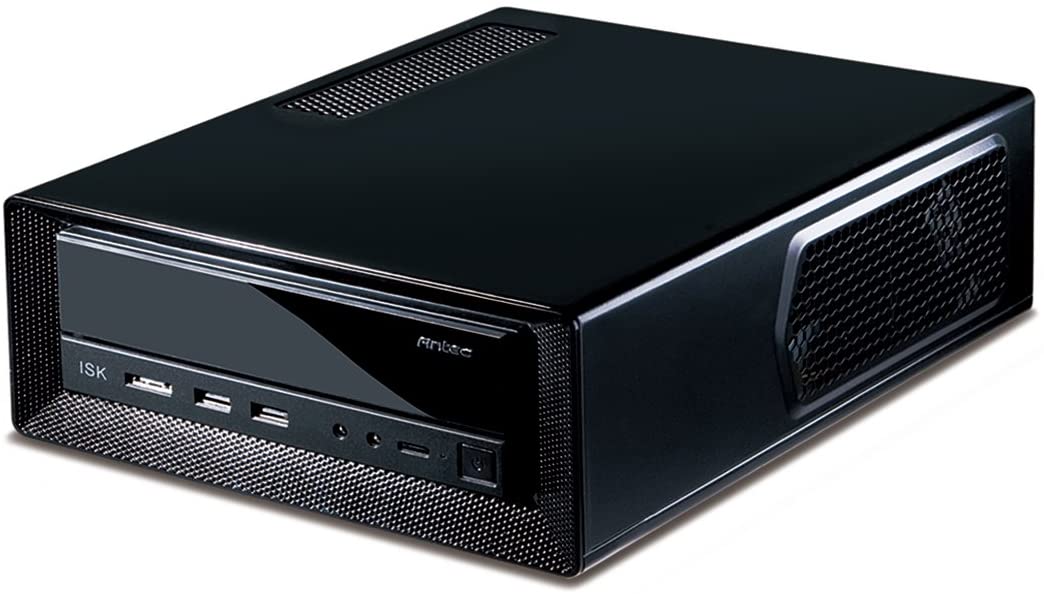
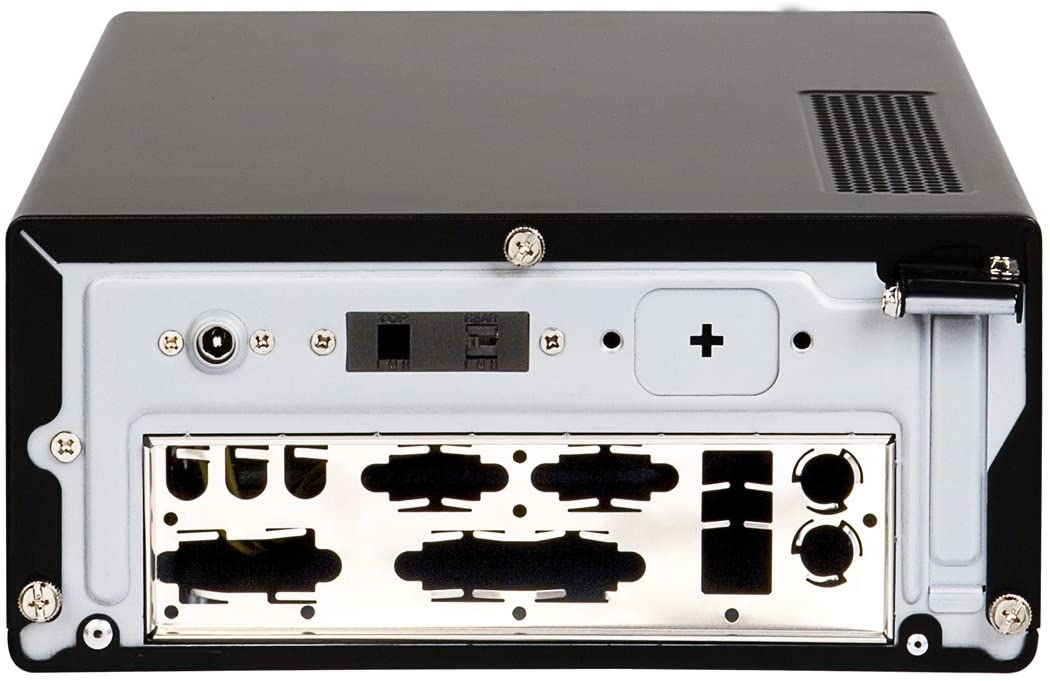
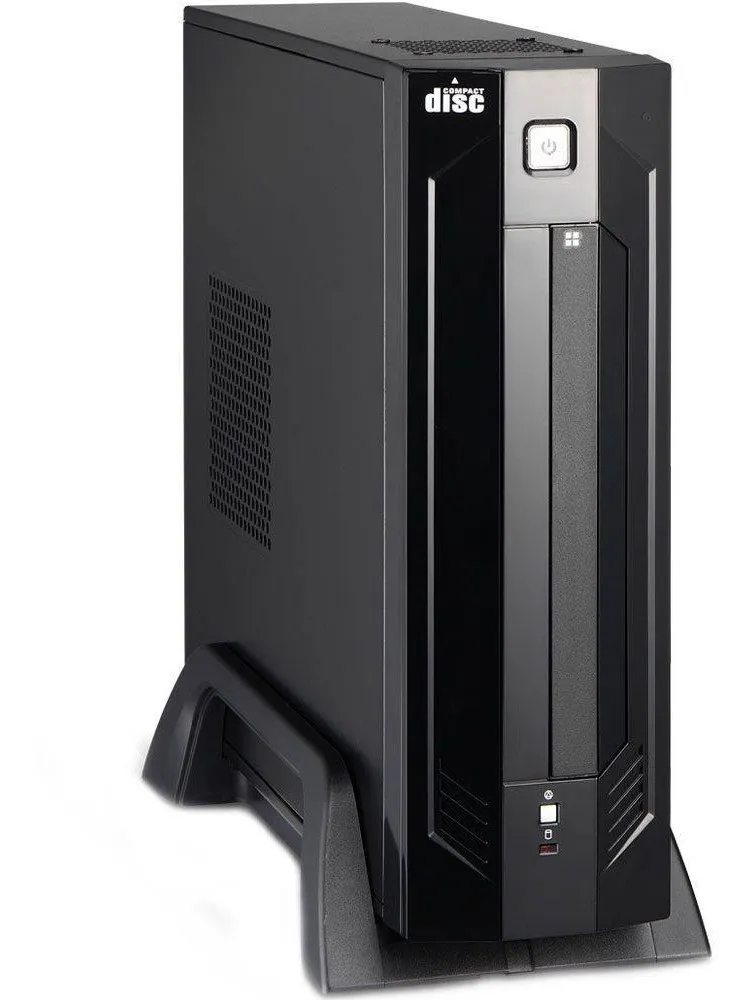
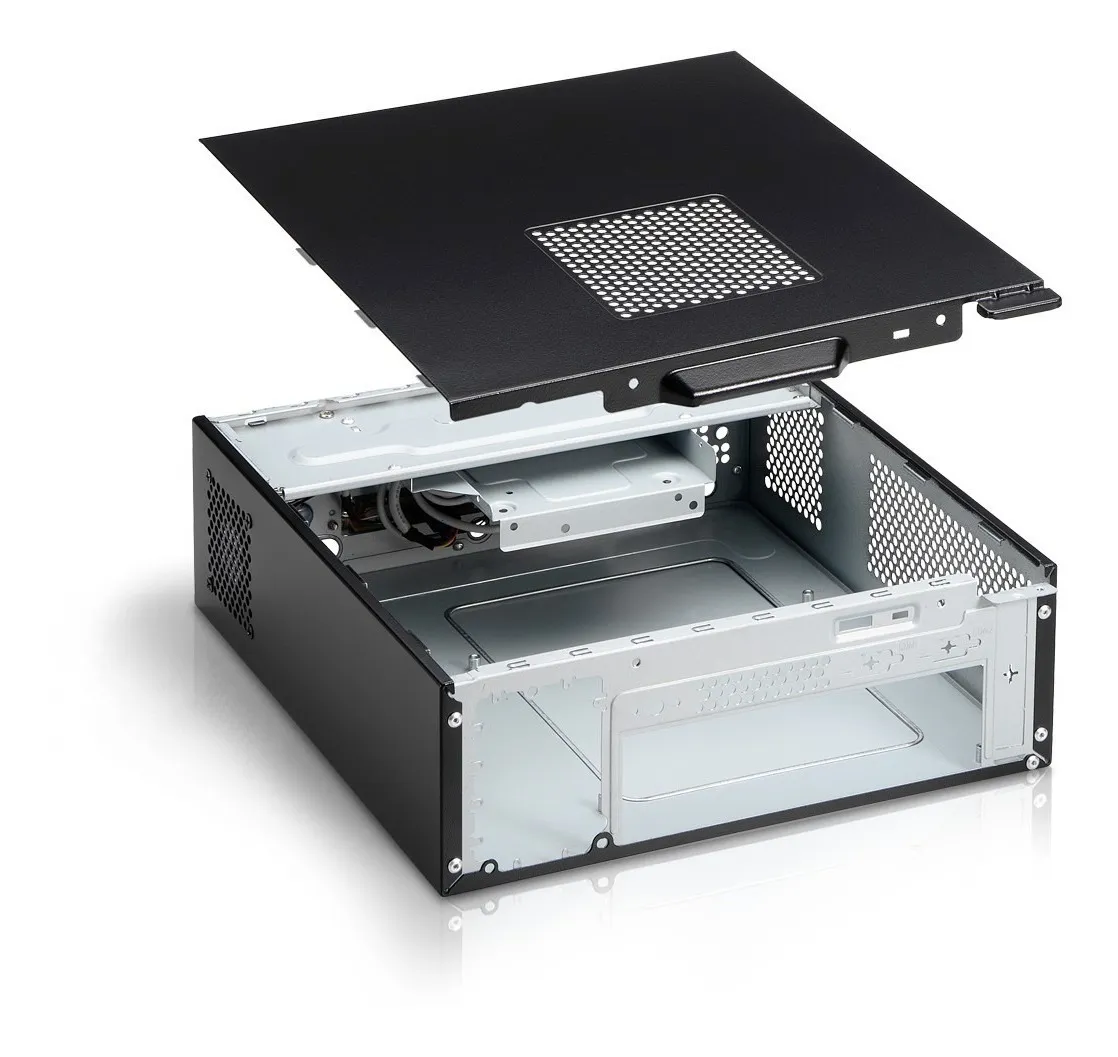
You can use any mini-ITX case as long as it has support for at least one expansion slot. Also, note that some mini-itx cases have an expansion slot parallel to the mobo (it sits above the mobo’s i/o plate), instead of perpendicular (next to the mobo’s i/o plate). That will usually be okay but you’ll need to buy compatible PCI-e extension cable then.
Power supply unit
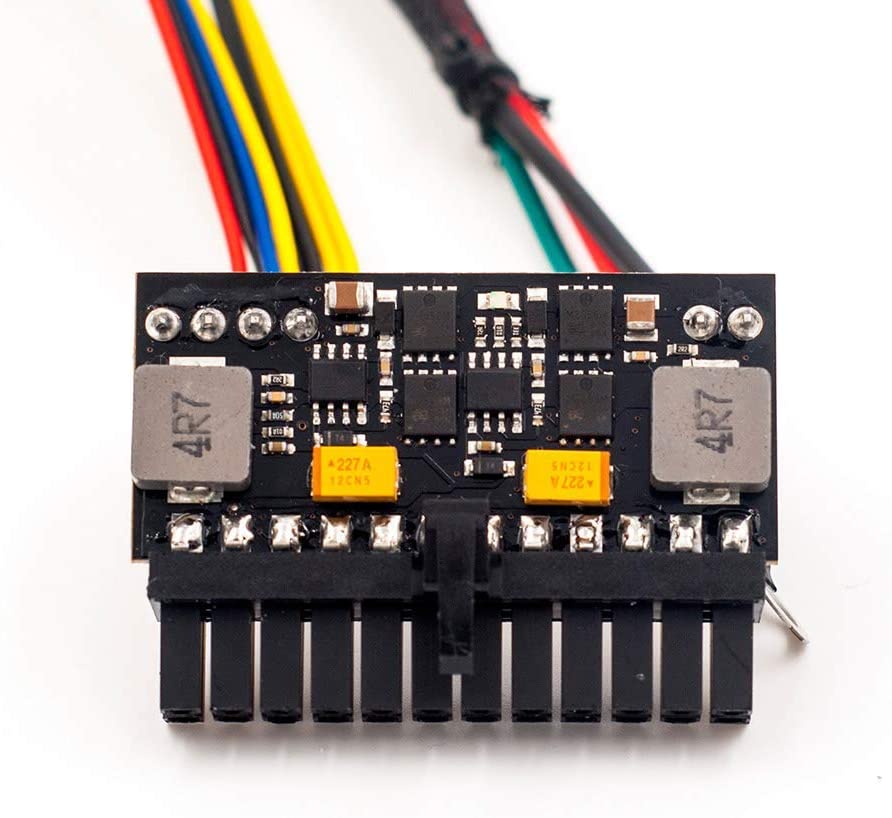
If you bought an expensive case with a built-in PSU, go ahead and use it. However, if you bought a cheap case with a PSU or one that even doesn’t have a built-in PSU, then buy and use a pico PSU. My experience is that cheap PSUs come with bad fans, so avoid them if your firewall will be next to anyone in the house because it will eventually start making a lot of noise. A pico PSU is the way to go, and because this box uses very little power, buy a low power PSU (anything between 60W-180W should be okay, for reference).
Software
Software-wise, there’s not much to say other than
- Download the ISO from the official website;
- Check the SHA signature of the downloaded file against the one from the official website;
- Flash the image onto a USB stick;
- Connect a monitor and keyboard to your pfSense box;
- Insert the USB stick into your pfSense box, turn it on, and follow the instructions.
Now, if you want a more in-depth look into installation and initial configuration, check the official docummentation. Alternatively, there’s a very easy to follow video tutorial that Lawrence Systems put together. (It’s a bit old but still valid.)
Conclusion
This concludes the basics of a cheap, low-profile, and low-power (yet powerful) pfSense white-box. I’ve never had any issues with this hardware and recommend it to anyone interested in diving into firewalls or just looking for something a bit more advanced than what commercial routers can offer. If you want to try something different than pfSense, take a look at OPNsense–a pfSense fork–for another free and open-source firewall software.

