Changelog
Jan 18th, 2025: Updated forge installer broken URLs.
Dec 31st, 2023: Small update to fix typo in Forge’s installation section. Everything else seems to be up-to-date.
Feb 1st, 2023: I updated the XMage installation instructions to match the beta client instructions. This was necessary because the domain xmage.de has been offline for quite some time now, and the best alternative is to use the xmage.today domain, which hosts the beta client and a few public servers.
Sep 21st, 2022: Forge is now accepting donations via Ko-fi, so I updated the Contributing section accordingly.
July 25th, 2022: I made a few updates to the article in light of new information I learned and to fix a few typos here and there. More specifically, there is a new section called Adventure mode that describes how to run Forge in adventure mode, which is a single-player RPG mode that resembles Shandalar. Thanks to user tehdiplomat for making me aware of it. I also added a note about intellectual property to the introduction, following conversations I had with other users in a Reddit thread and private messages. Lastly, one of the core devs of the Forge MtG RE reached out to elaborate on the early development history of the RE, which I included in the introduction of the Forge section.
July 22nd, 2022: Publication of the original article
Introduction
I have been playing Magic: the Gathering (MtG) for as long as the game exists. If you have never heard about it before, MtG is a trading card game (TCG) created by Richard Garfield and released in 1993 by Wizards of the Coast (WotC). It is arguably the most successful TCG ever made and even though it was originally popularized as a paper format TCG, it has long been ported to digital formats. The main MtG client developed by WotC is called MTG Online (MTGO) and it requires users to buy digital versions of paper Magic cards to trade and play with other users on private servers. The development of such client has gone through many changes over the years but most of the details are unknown to the public because MTGO is not open source and a large portion of its functionality happens in the cloud. On top of that, MTGO only runs on Windows, leaving many of us nix users (e.g., GNU/Linux, macOS) without official support.
Fortunately, there are free and open source software (FOSS) alternatives to MTGO that do not require users to buy digital objects (cards) to play MtG. In this article, I talked about two of the main MtG rules engines (RE) currently available for offline and online play: Forge and XMage. More specifically, the article covers the main features of the Forge and XMage REs, how to install and use each one of them, and how you can contribute to maintain their development because these two projects are essentially community-driven. This is possible because just like no company can claim ownership over the game of poker, WotC cannot claim ownership over the rules that constitute a game of MtG*.
*To be fair, since the original publication of this article, I was made aware that the aspects concerning intellectual property related to MtG are more controversial and complex than in the comparison with poker. For anyone interested, there is a Reddit thread in which I shared my opinion on this matter and other users explained a few of the legal challenges. In addition, other people reached via private messages to let me know that in 2000, WotC created the Open Game License to allow easier dissemination of the game and to allow third-party parties to profit from the reproduction of certain aspects of the game. Clearly, the issue of intellectual property has multiple layers when it comes to MtG and it would be beyond the scope of this article (and honestly, my expertise) to cover it here.
If you are interested in using and learning more about Forge and XMage, then keep on reading. As it is customary with my articles, I try to keep them up-to-date to reflect my current knowledge about the content, so if this is not your first time here, make sure to check the Changelog for updates. Also, if you spot an error or disagree with something that I wrote or want to improve this article, feel free to get in touch with me.
Overview
This article is divided into four main sections. The first is an optional and brief introduction to the game of MtG, called the basics of MtG. This section is recommended only for those who are not familiar with the basic rules of MtG and want to get a taste of what the game is all about.
The next two main sections are part of the MtG rules engines, in which I described the Forge and the XMage MtG REs in detail. More specifically, each of those two sections cover the development, features, and installation process of each RE. If you are only interested in learning how to install and use them, then simply jump straight to their respective section.
The last main section, called Contributing, covers aspects about how you can help each project. I found this necessary because both Forge and XMage are quintessential community-driven projects and on top of that, they are very good examples of FOSS applied to gaming. Reporting issues, writing card scripts, and setting up a (versioned) project directory are examples of the content covered in the last section.
The basics of MtG
This section is optional for anyone who is already familiar with MtG. Feel free to skip to the next section if this is the case.
If you have never played MtG before and you are curious about it, then take a look at the following video to learn the basics before moving onto the next sections.
MtG rules engines
The starting point of any game is a set of rules that tell us how the game is played. In most card games (e.g., monte bank), this amounts to just a few basic rules that we can count on our fingers. In MtG, however, there are over 250 pages of rules, which are described in detail in the MtG Comprehensive Rules book. As a player, you are not supposed to go over all such rules in order to play the game. In fact, most of us just learn the basics first (e.g., the concepts of mana, casting, phases, card zones, and win conditions), leaving the specifics to be learned as we play the game. Nonetheless, the sheer amount of specific rules in MtG does indicate that MtG is a complex game, and therefore, its digital implementation is non-trivial. This alone speaks volumes about the individuals who have taken for themselves the task of implementing the game, especially those who have done so without the support of a business, and the development of both Forge and XMage falls very much into such category.
Forge and XMage have in common the fact that they are both written in Java–a mature and object oriented language–which makes them easily portable. In fact, contrary to MTGO, they run on pretty much any operating system. In addition, neither Forge nor XMage tries to simply emulate MTGO features; they actually introduce many new features. A major and common one is that both Forge and XMage allow users to play against the computer (AI). In addition, because both applications are free to use, it is not necessary to make any financial investment to play MtG, whereas buying MTGO cards can sometimes feel more like buying stocks than playing a card game.
After that last point, I feel I should note that MTGO outshines any other MtG RE by a huge margin when it comes to online play. The community around it and the events are definitely unique and in my opinion, the strongest features of MTGO and I dare say, worth your money if you are into MtG.
However, even though Forge and XMage are both MtG REs, they are not mutually exclusive implementations of the game. Forge, on the one hand, has very unique play modes for single player, such as Quests, which are reminiscent of the old Shandalar MtG role playing game (RPG) by MicroPose. XMage, on the other hand, has a very reliable implementation of online play, which is quite unreliable in Forge. In other words, each RE has its strengths and weaknesses, which I summarized in the following table:
| Engine | Strengths | Weaknesses |
|---|---|---|
| Forge | Various single player modes for offline play against the computer. Beautiful and customizable graphical interface. Runs on mobile (Android) as well as desktop. Supports card scripting. Supports almost every single card in MtG. | The AI will occasionally make very dumb plays–it’s said that the AI works best with aggro strategies, as opposed to combos. Even though networking features exist for online play, it is quite unreliable. |
| XMage | Large community and one of the most mature (unofficial) MtG REs available. Solid implementation of multiplayer, human vs. human, and online play. | Installation and usage can be challenging for non-tech users. It does not support as many cards as Forge but you’ll only notice it if you play with unusual cards that were never reprinted since Eventide. |
For more comparisons, refer to the Slightly Magic wiki list of MtG REs.
In brief, my opinion is that if you are looking for a single player experience, then try Forge. Now, if you want to play with friends online, then try XMage. Are you unsure? Try both! I think they are both great examples of FOSS applied to gaming and they complement each other in many aspects. In any case, check the following sections for specifics about each of those MtG REs.
Forge
Forge started development in 2007 by a single individual (mtgrares) and was initially pushed to Google code (svn versioned) around 2008. In 2011, jendave split the project into the first pass of the contemporary modules and soon afterwards, the project’s development briefly moved to Bitbucket (git)–which is where some of the earliest git commits come from in the project’s commit history–but the move did not prove successful and the project moved back to svn but now on Slightly Magic, where it remained for several years. Finally, in 2018, the project moved once again to git on a hosted Gitlab service and currently, the official repository is hosted on Github (Card-Forge/forge). The project has grown a lot over the years and is currently maintained by a large number of contributors and a group of core developers. Of note, Forge has both a desktop release, which is the main focus of this guide, and a mobile (Android) release, which is only briefly mentioned in the Android APK section.
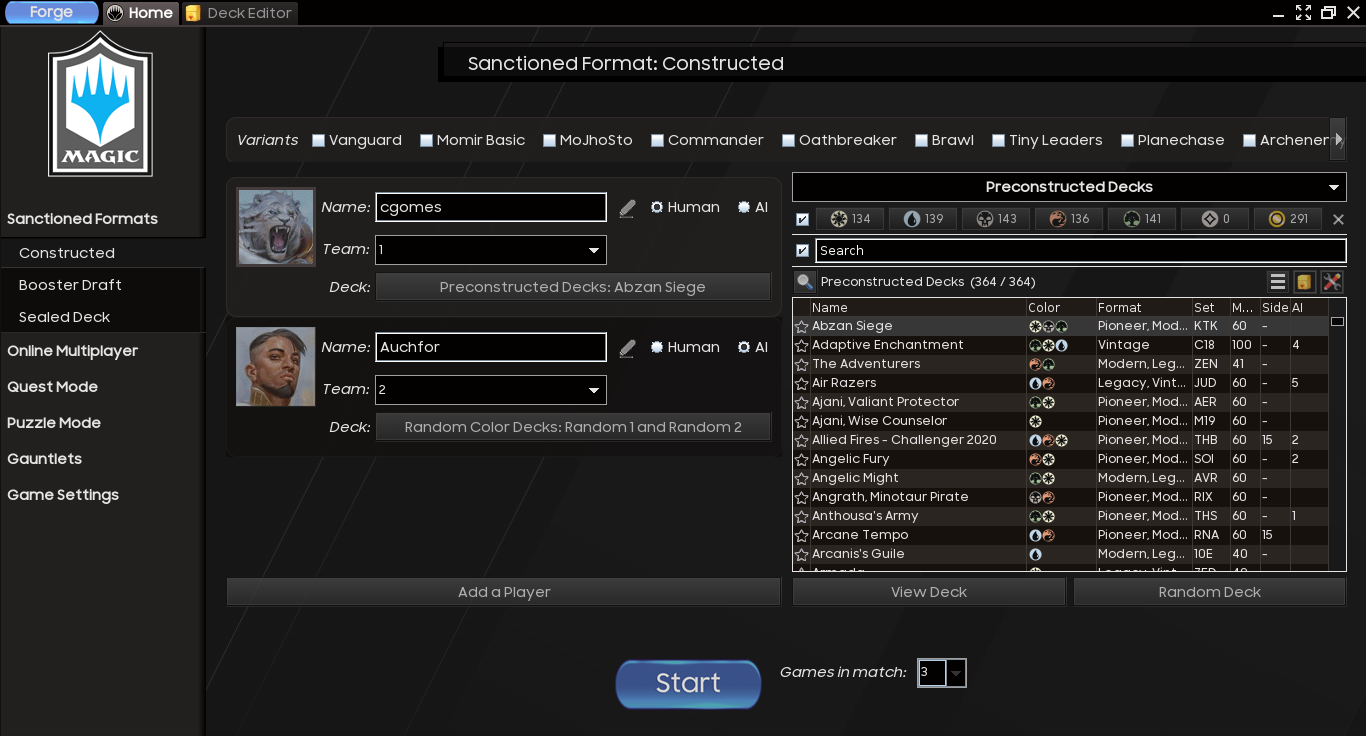
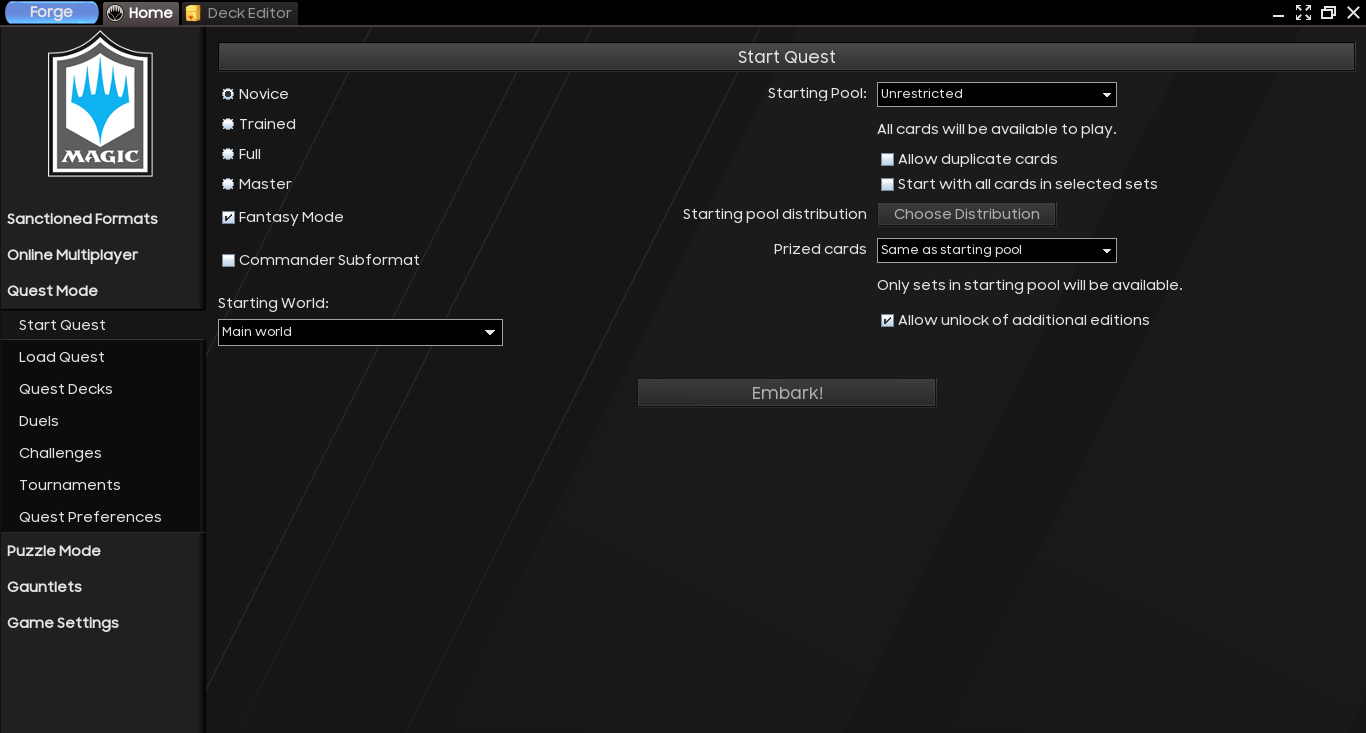
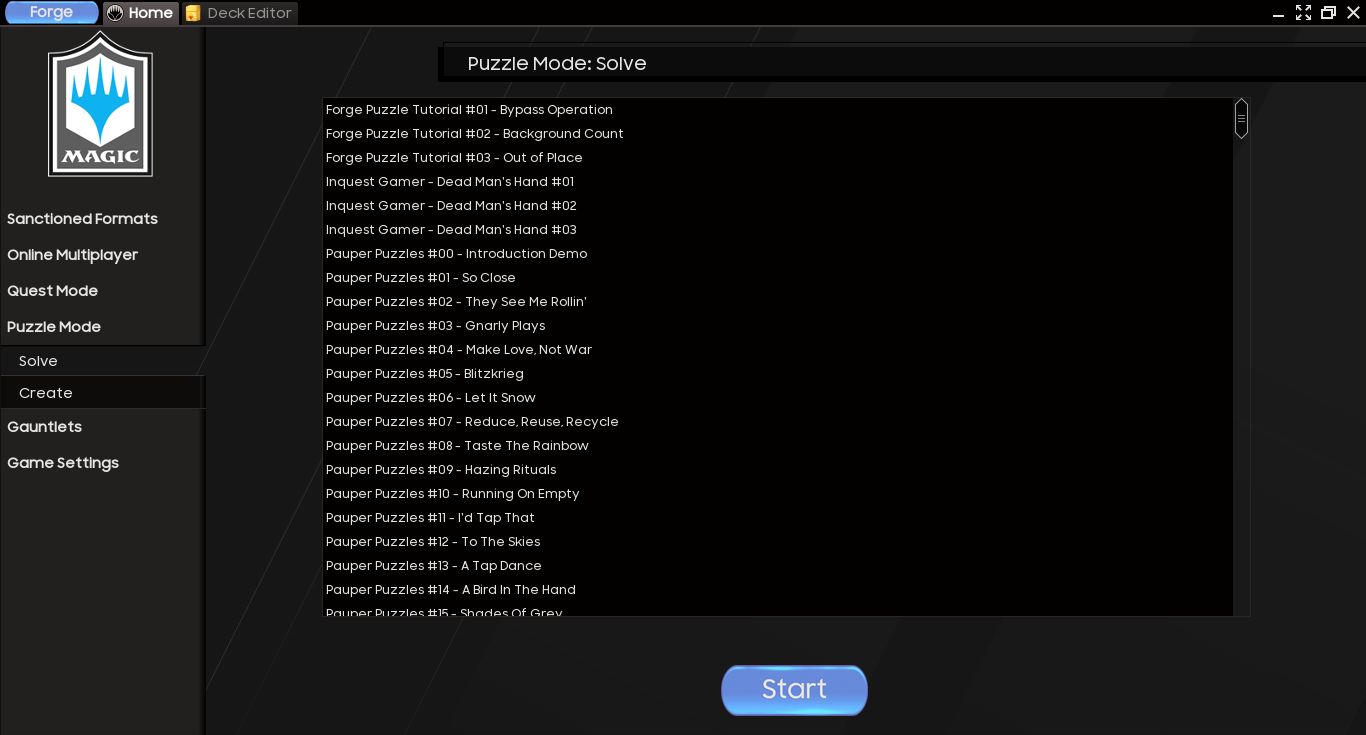
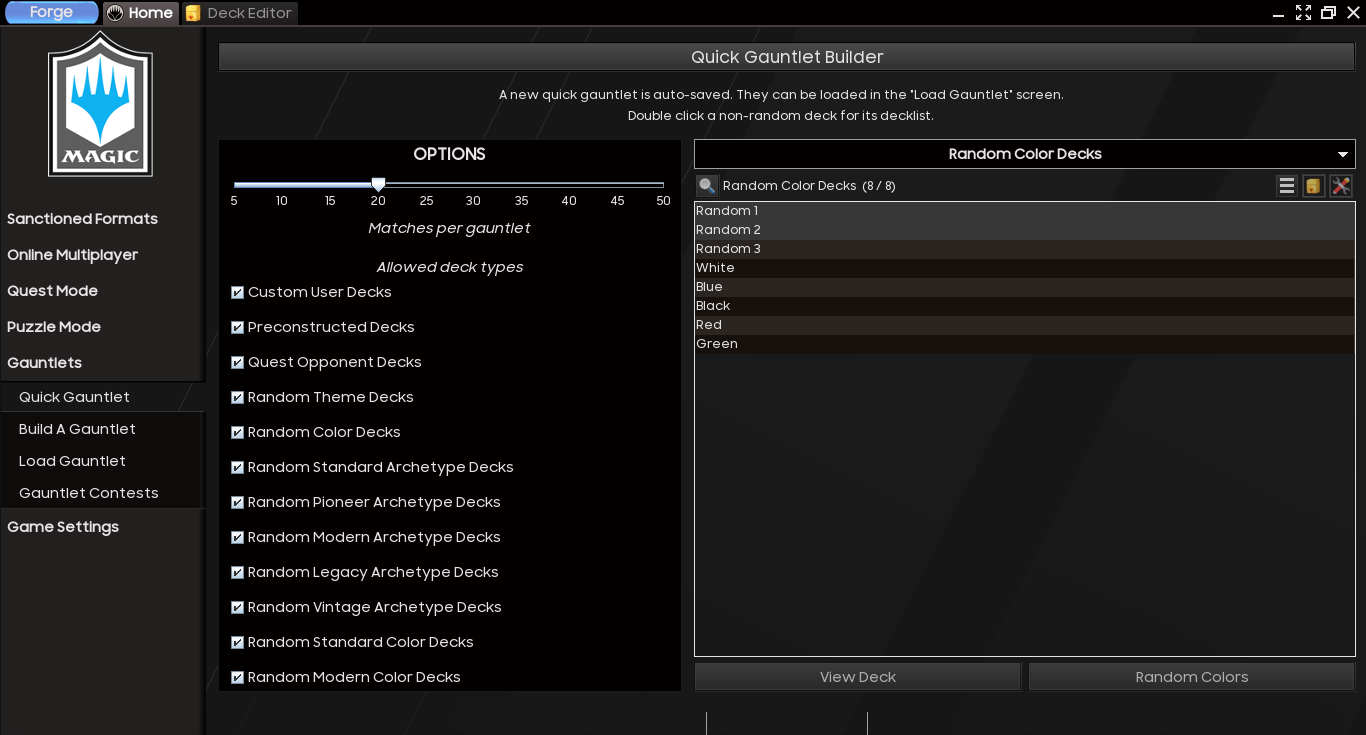
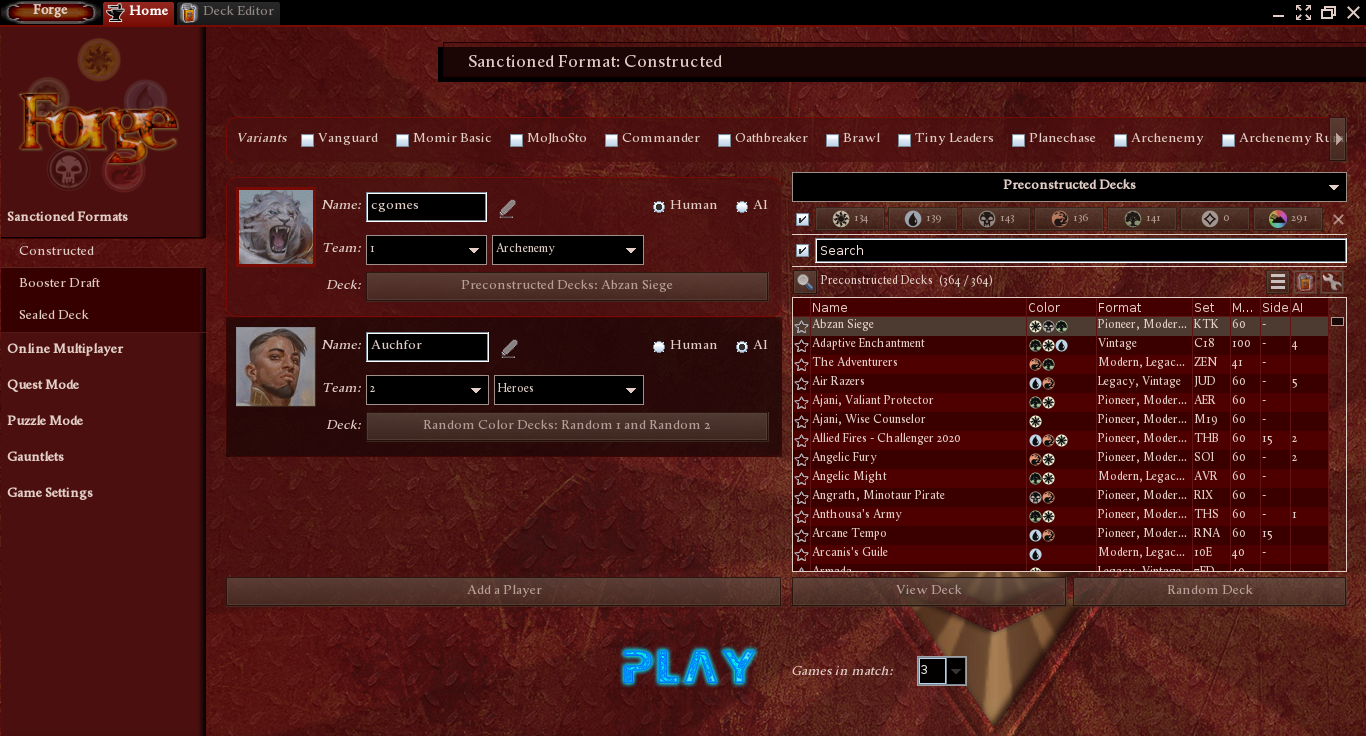
As mentioned before, Forge features a very unique (and hella fun!) set of single player modes, namely Quest mode, Puzzle mode, and Gauntlets. The Quest mode plays like an RPG game in which you can improve your deck over battles against the computer. The Puzzle mode is pretty much self-explanatory: it gives you MtG puzzles to solve, such as how to win given a board state. Finally, the Gauntlets consist of a group of customizable players that play each other in a tournament-like fashion.
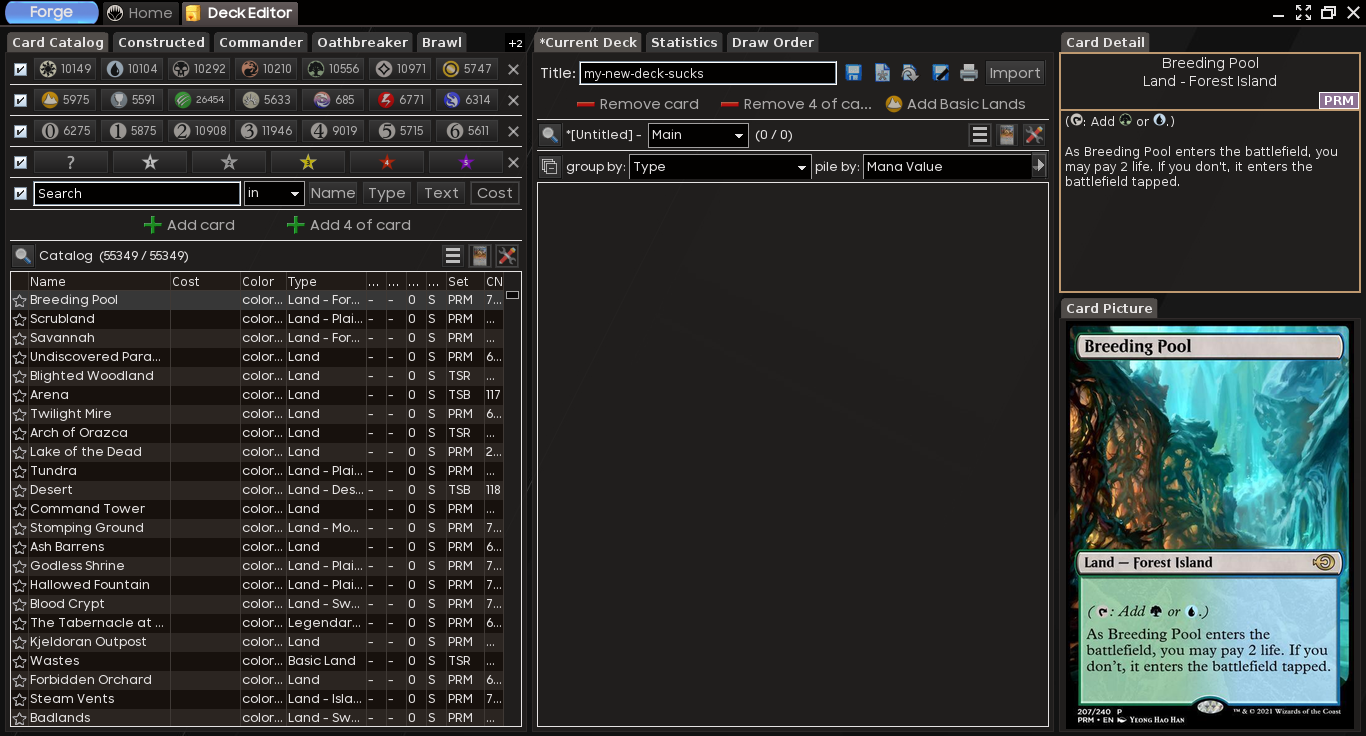
As it would be expected from an MtG RE, Forge also features a full blown deck editor. The editor lets users customize existing decks, build new ones, import from other applications, websites or txt, and also export decks created with Forge to other applications.
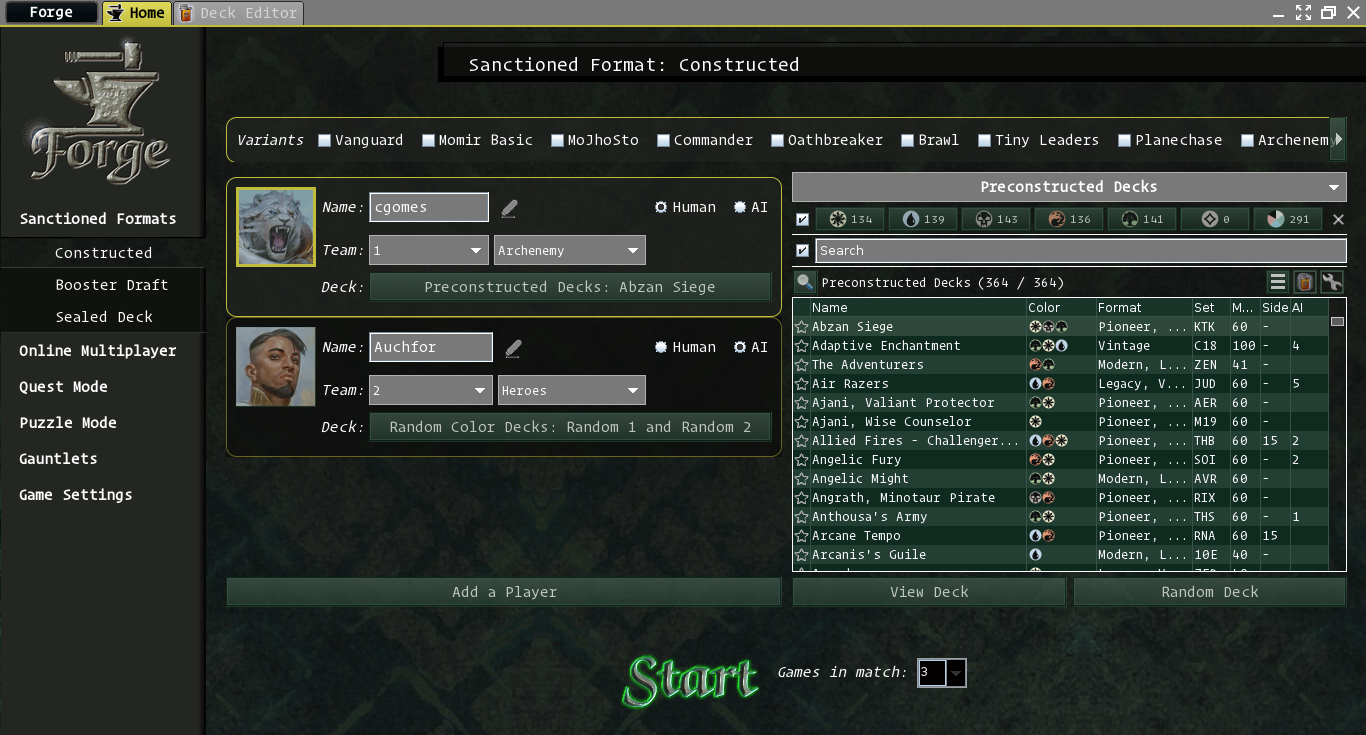
Interface-wise, Forge is actually my favorite MtG RE. Almost everything can be edited to the user’s liking and they even have a theme selector feature. (Magic is my favorite one.)
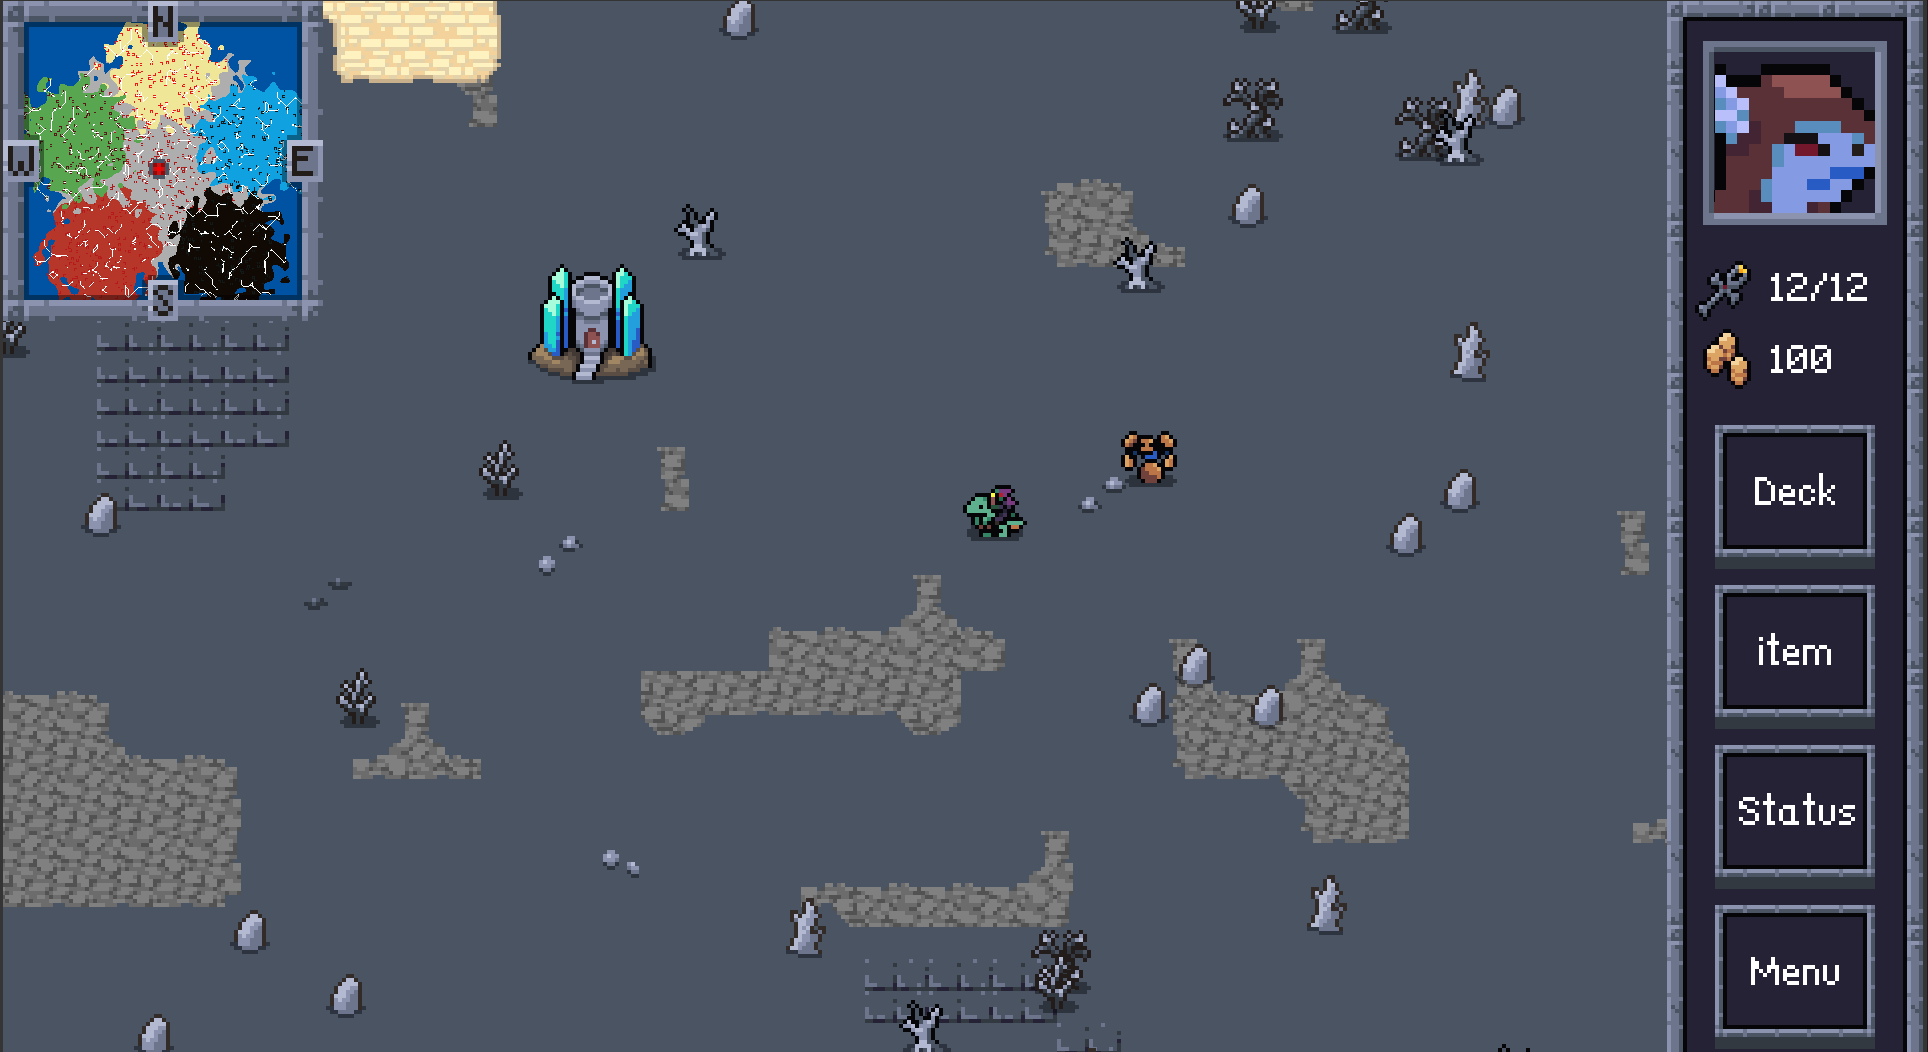
Lastly, Forge includes a single player RPG mode called Adventure. This mode is much closer to Shandalar than the Quests mode, as it allows players to roam through worlds and fight enemies along the way. This mode was only included recently–the original developer post dates back to July 2021–and at the time of writing, it is still in alpha but if you are looking for a modern port of Shandalar, definitely check the Adventure mode section below for more details.
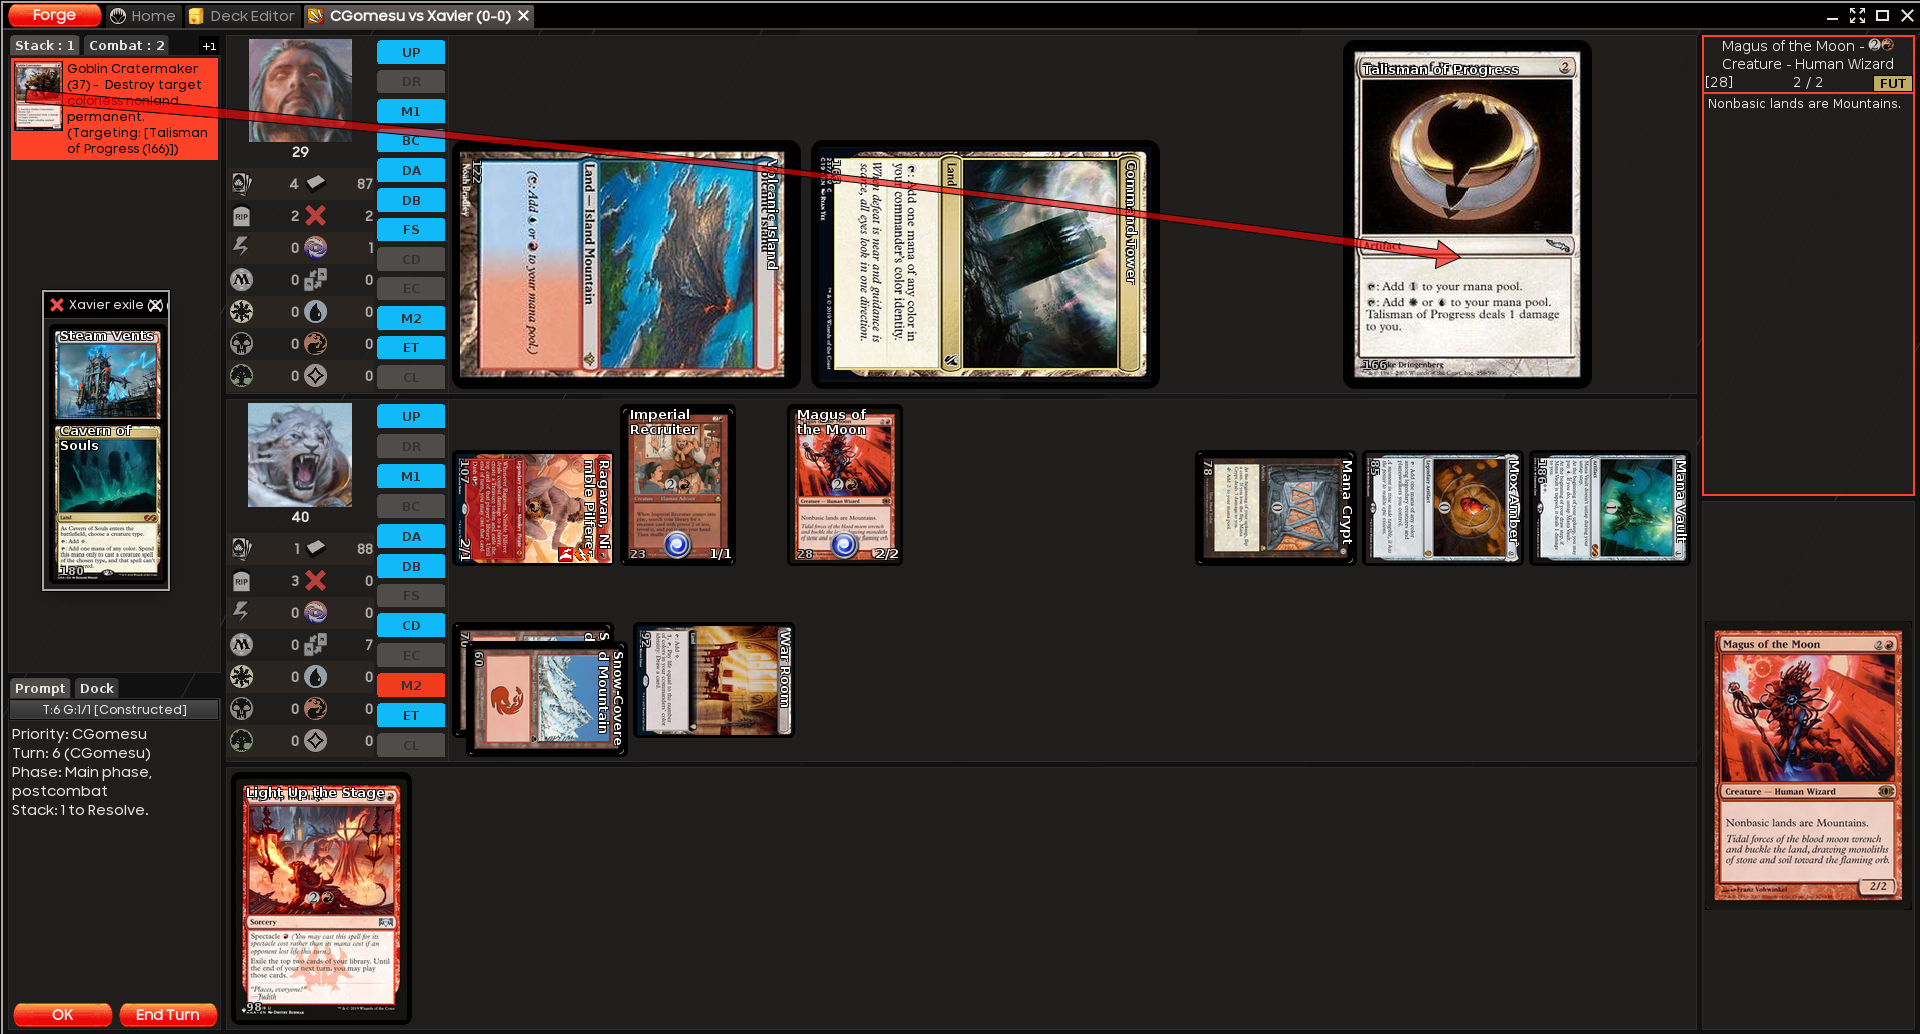
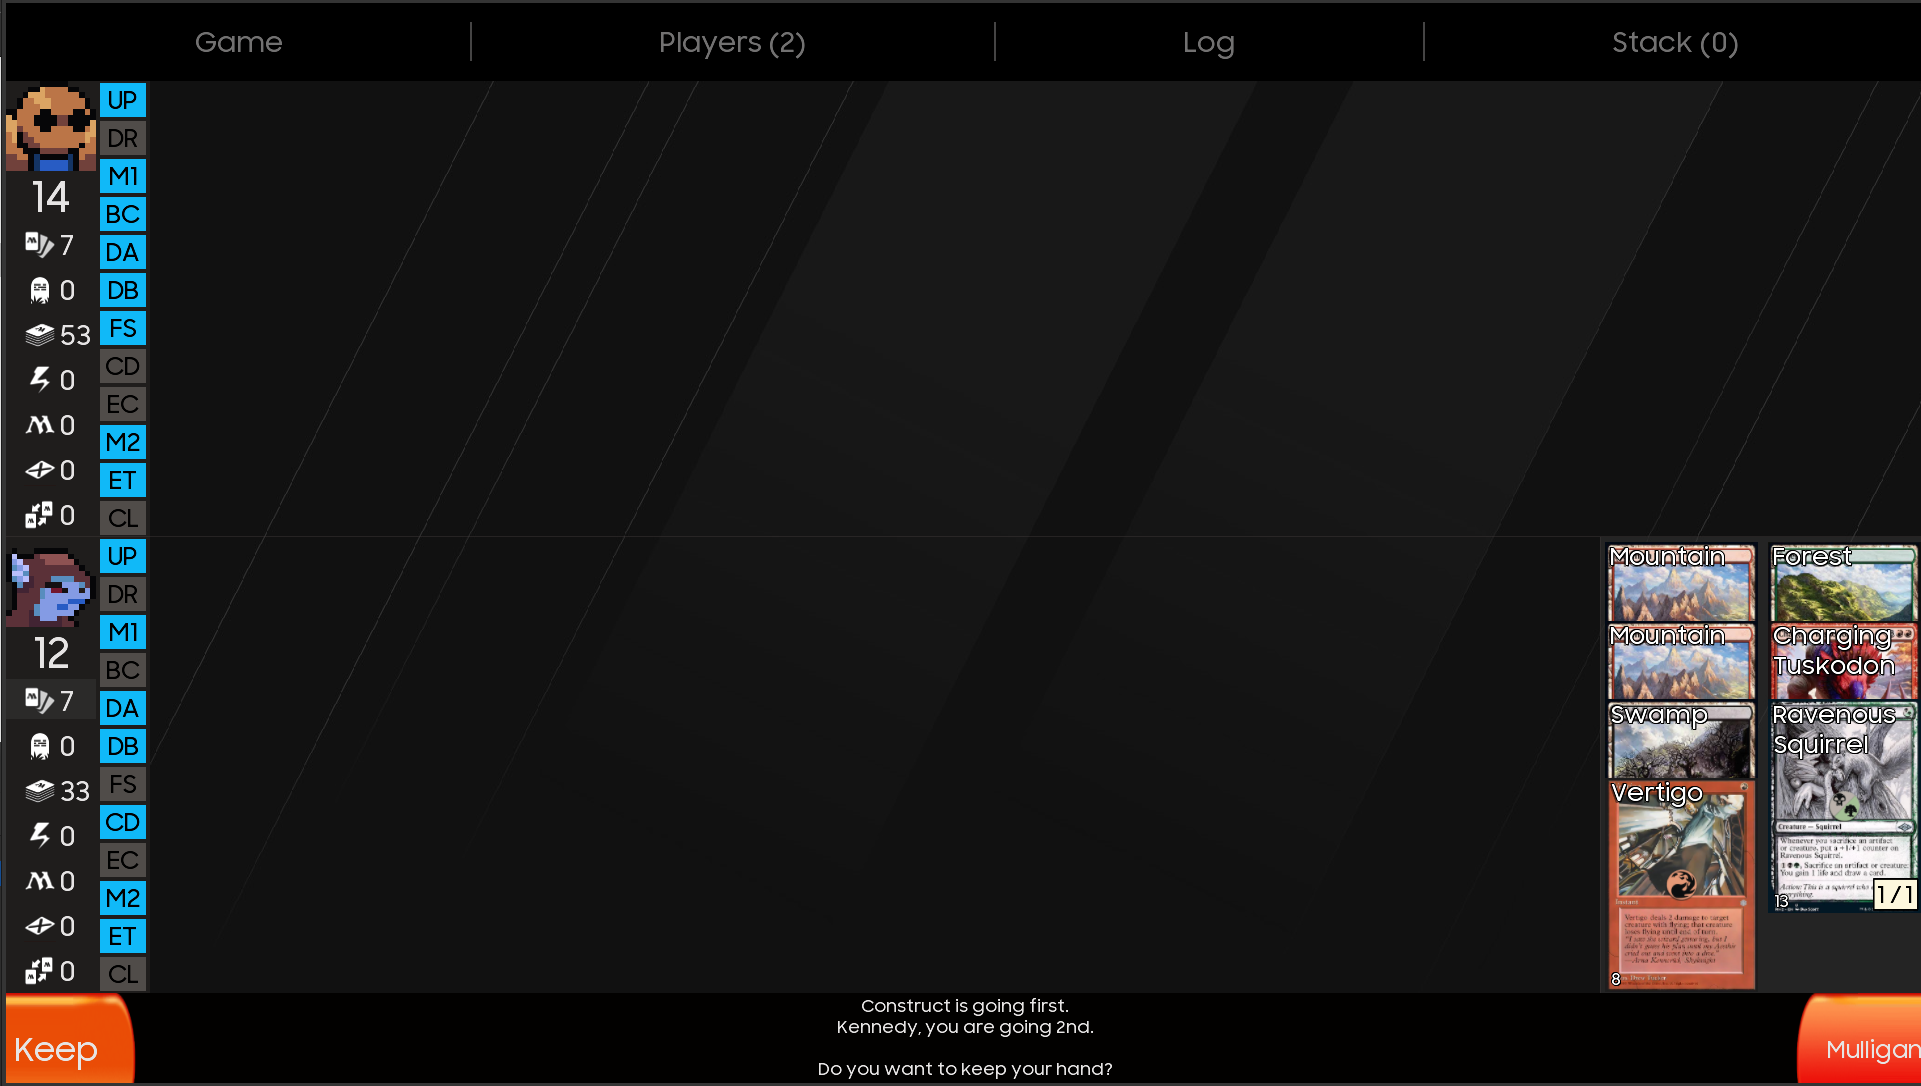
Gameplay demo
Getting started
Forge requires a Java Runtime Environment (JRE) to run the desktop application and a screen resolution of at least 1024x768 (the bigger, the better). In my experience, the application can be a bit memory hungry at times but anything with at least 4GB of RAM should be just fine.
For reference, the following table shows the versions of the software I used at the time of writing:
| application | version |
|---|---|
java |
openjdk 11.0.15 2022-04-19 |
forge |
1.6.53 |
For information about how to install JRE and Forge, take a look at the next section.
Installation
-
Requirements
As before, Forge requires JRE to run, so download and install Java on your machine. If you are running GNU/Linux, you can check whether Java is already installed (and in your user’s
$PATH) via terminal, as follows:which javawhich should output the full path to your Java application. If it doesn’t find anything, then you gonna have to install it. In
apt-based distributions, such as Debian and Ubuntu, you can install the OpenJDK JRE as follows:sudo apt update sudo apt install default-jreThe Java Development Kit (JDK) itself is not necessary to run Java applications. You only need the JDK if you want to, say, compile java files into bytecodes that can be executed by the Java Virtual Machine (JVM), which is something you would do if contributing to the development and testing of a Java project. However, if you want to install the JDK as well as JRE, you can do so via
sudo apt install default-jre default-jdk.If your distro does not use
aptas package manager, just change the previous command to match whatever package manager you use. Alternatively, use the download link mentioned before to download Oracle JRE and follow the instructions mentioned there instead. (OpenJDK is also maintained by Oracle and in this sense, Oracle JRE and OpenJDK JRE are both official JREs.)then check its version to make sure
javais now reachable and is associated to theaptOpenJDK version we installed before:java --versionopenjdk 11.0.15 2022-04-19 OpenJDK Runtime Environment (build 11.0.15+10-post-Debian-1deb11u1) OpenJDK 64-Bit Server VM (build 11.0.15+10-post-Debian-1deb11u1, mixed mode, sharing)The
default-jrepackage is often way behind the latest release but should be enough to run most Java applications. However, if you want to install the latest OpenJDK JRE package viaapt, you will have to find what is available for your distribution and its repositories first. For example,sudo apt show openjdk-*-jreshould list all OpenJDK JREs available for you. At the time of writing,openjdk-17-jreis the latest OpenJDK JRE version available in Debian 11. -
Download and install Forge
Forge for desktop has stable and snapshot releases. As the name suggests, snapshot are edge releases that contain the latest changes from source that have not been thoroughly tested, while stable releases contain changes that have been tested before. Most users should favor the stable release over snapshot. The stable desktop releases can be found at the following website:
then look for the latest release version (e.g.,
1.6.53), which you can check by looking at the dates or comparing against the tags in the official repository, and download then the associated.tar.bz2(and optionally, its.md5hash to make sure the downloaded file matches the remote). Alternatively, you might want to try the following to download the latest Forge tarball and hash via terminal:- make sure
curlandjqare installed:sudo apt install curl jq - move into this user’s Downloads dir:
cd ~/Downloads/ - create a variable that stores de latest Forge version, according to the github repo:
FORGE_LATEST=$(curl https://api.github.com/repos/Card-Forge/forge/tags | jq -r '.[0].name' | grep -oE "[[:digit:]]{1}\.+[[:digit:]]+\.+[[:digit:]]+") - download the latest Forge files from cardforge.org:
curl -O "https://releases.cardforge.org/forge/forge-installer/$FORGE_LATEST/forge-installer-$FORGE_LATEST.tar.bz2" curl -O "https://releases.cardforge.org/forge/forge-installer/$FORGE_LATEST/forge-installer-$FORGE_LATEST.tar.bz2.md5" - after downloading the files, check hashes:
echo "$(cat forge-installer-$FORGE_LATEST.tar.bz2.md5) forge-installer-$FORGE_LATEST.tar.bz2" | md5sum -c
Once you have downloaded the tarball, extract it to a directory of your liking. Personally, I like to store such applications on a directory called
Applicationsunder my user’s$HOME(e.g.,/home/cgomesu/Applications/):- create an Applications dir for the current user if it doesn’t exist:
if [ ! -d "$HOME/Applications/" ]; then mkdir "$HOME/Applications"; fi cd "$HOME/Applications/" - extract the tarball into a subdir called forge-gui:
mkdir forge-gui
tar -xvf "$HOME/Downloads/forge-installer-$FORGE_LATEST.tar.bz2" -C ./forge-gui/
If you have not declared and initialized a
FORGE_LATESTvariable before, then just edit the name of the tarball to match yours before running the command above.
Now move into the newly created
forge-guidircd forge-gui/and at its root, you should find executables to start the application. For GNU/Linux and macOS users, there is a shell script called
forge.shthat can be used to run Forge via the script’s shebang:./forge.shor by calling
bashdirectly:bash forge.shThis will start loading the Forge’s graphical interface. If you run into issues, review your steps and then check the official Forge Wiki for alternative instructions.
- make sure
-
Initial configuration
Now that Forge is up and running, go to Game Settings. I usually take this opportunity to configure my Preferences to automatically download missing art (Game Settings > Preferences > Graphic Options > Check ‘Automatically Download Missing Card Art’), which prompts Forge to download card art on demand. Afterwards, head to Content Downloaders and at the very least, go ahead and download the following items:
- Quest images
- Achievement images
- Card prices
- Skins
The other options will take a long time to complete, so I usually prefer to let the on-demand option we checked before to handle missing art.
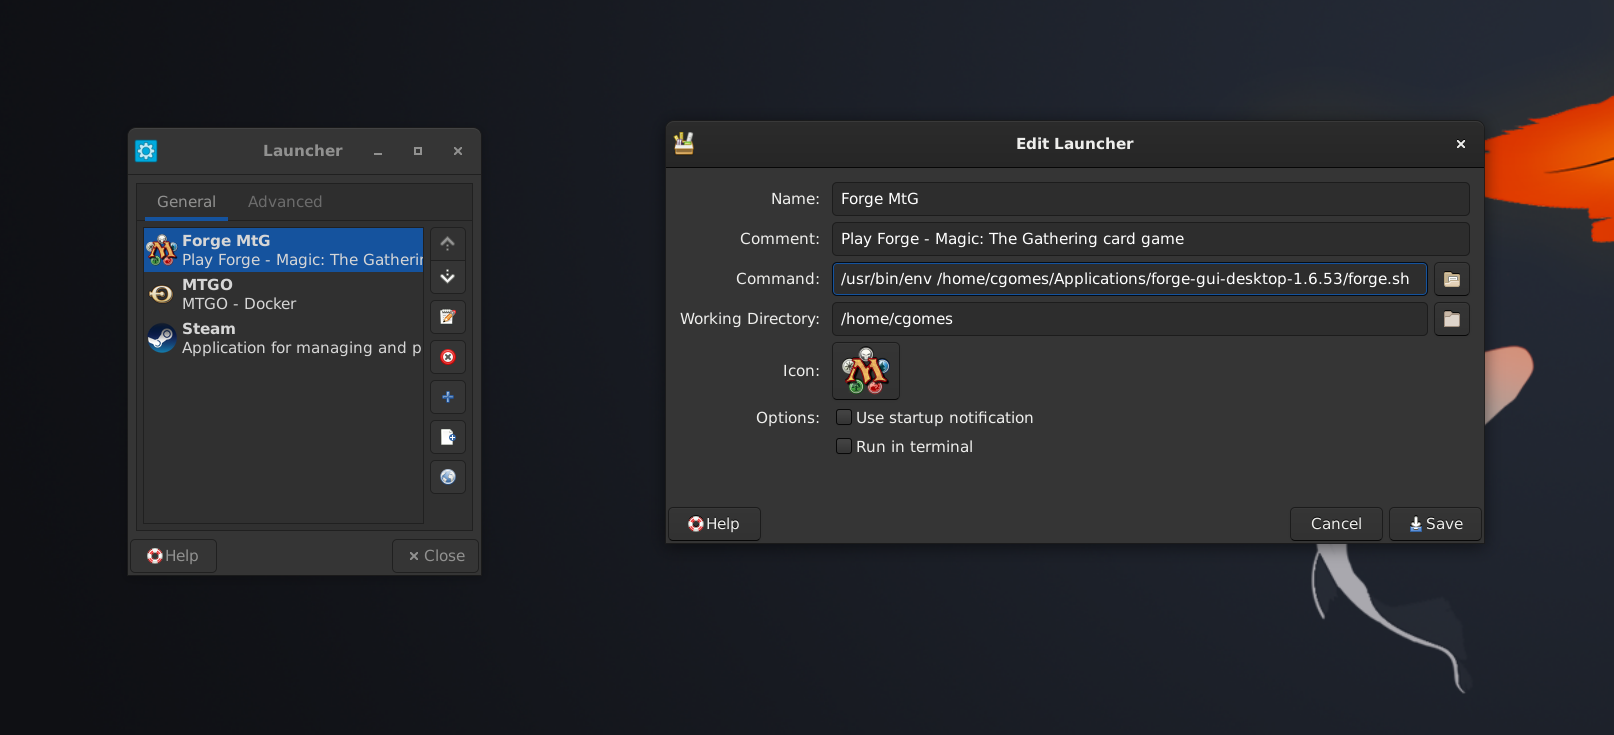
Now, if you don’t feel like opening a terminal every time you want to run Forge, I strongly suggest you to create a custom launcher for it. In GNU/Linux, the specifics of how to create a launcher depends a lot on the distribution and more specifically, the desktop environment you are using (e.g., XFCE, GNOME, KDE). Here’s how my current launcher configuration looks like:
My desktop environment of choice for Debian is XFCE and the maintainers have already documented how to create custom launchers, so I won’t cover such details here.
If you change location of your current Forge desktop application, you can simply edit the desktop launcher to point to the new directory under which the
forge.shhelper script is located.
Adventure mode
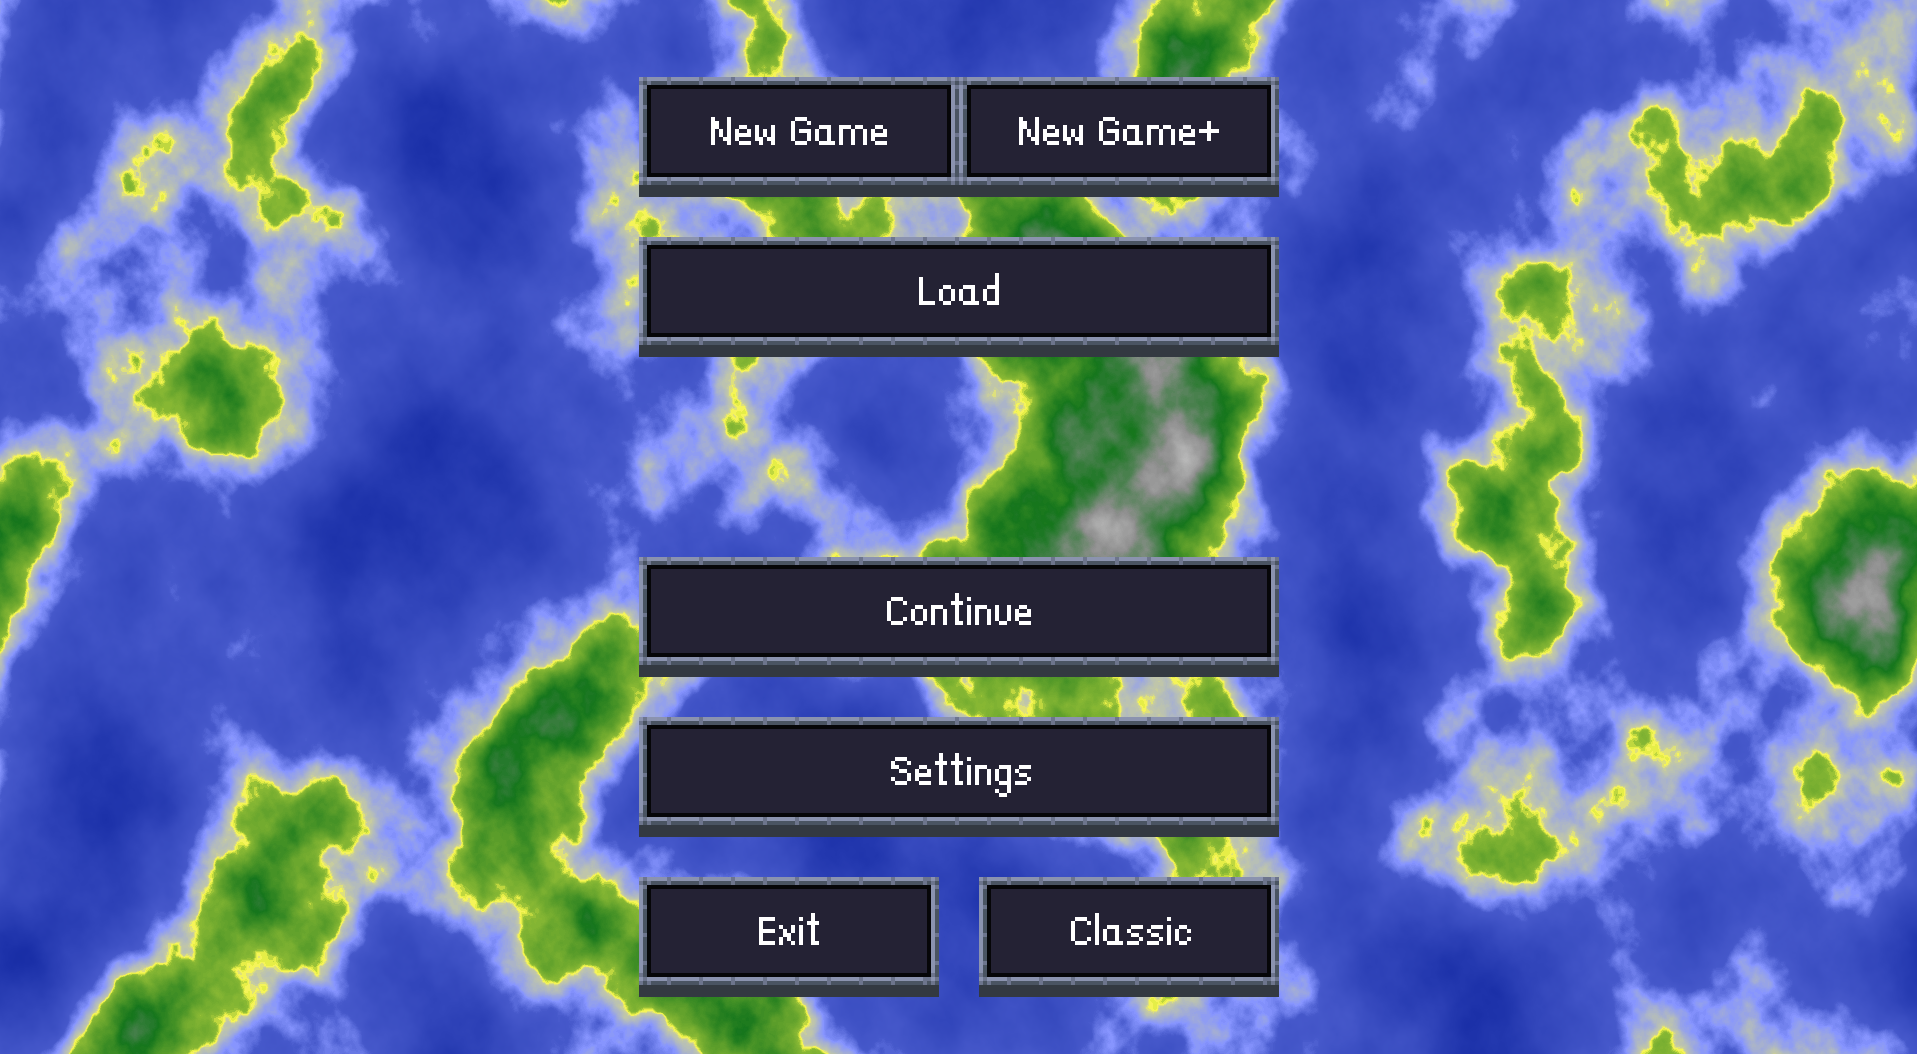
If you followed the installation guide, your Forge desktop release directory should contain a Shell script to launch the Adventure mode, namely forge-adventure.sh. By default, the script is not executable, so open a terminal, move into the Forge dir and make the script executable, as follows:
chmod +x forge-adventure.sh
Now you should be able to run it using the shebang:
./forge-adventure.sh
or by calling bash directly:
bash ./forge-adventure.sh
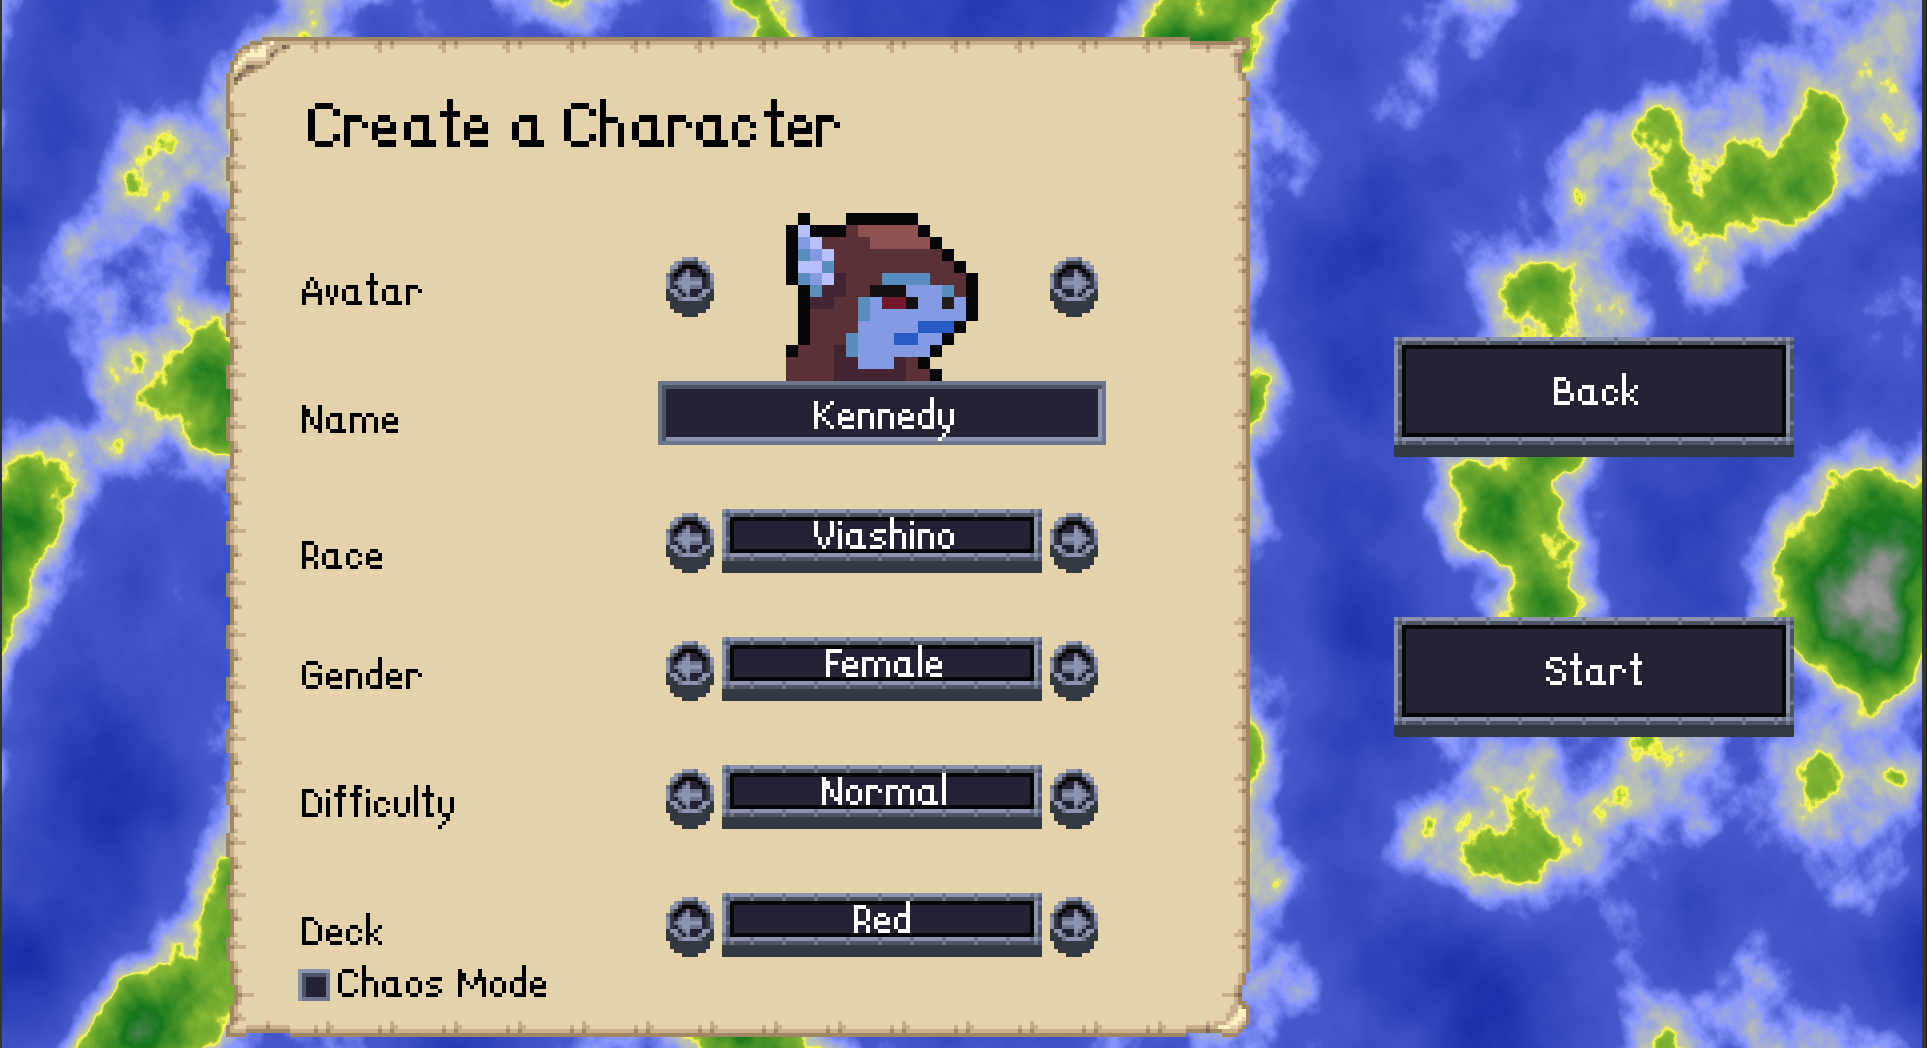
Once you have access to the GUI, select Adventure mode and enjoy it!
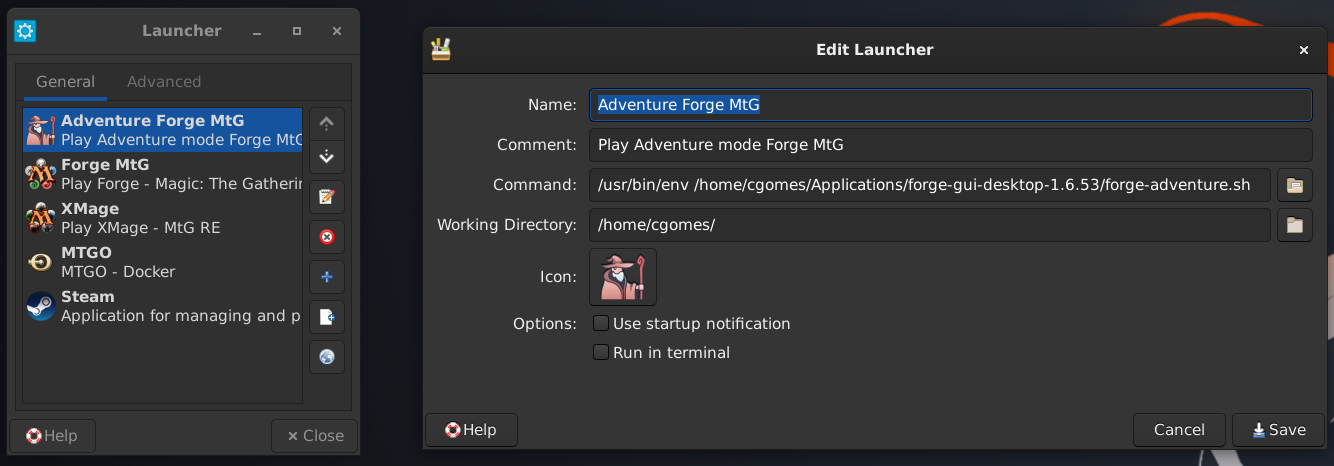
Again, instead of using a terminal every time you want to to launch Forge in Adventure mode, create a custom launcher for it. Here is how mine looks like in Debian 11 XFCE:
Android APK
Forge is very unique in which it also runs on Android, so you can install it on your mobile or tablet running Android 9 or newer. The Android interface has its own peculiarities–because the application is designed for mobile–but if you are familiar with the desktop version, you will get the hang of the mobile version very quickly.
There are older versions of the Forge MtG RE for Android that run on versions of Android older than Android 9 (Pie). This is an alternative if you are not running a modern Android OS but of course, such versions of the RE do not have cards from the latest sets, functionalities that were implemented recently, and so on. If that is okay, then when selecting the Forge version in the instructions below, just try older ones until you find one that works with your device and Android version.
As far as I’m aware, the Forge apk (Android package) is not distributed via any well known app store (e.g., Google’s Play Store, F-Droid), so you will need to download and install it from the official website. In addition, the app requires storage permission in order to function, so once we have installed it, we need to manually add such permission for it to work. If that sounds good and you want to give it a try, then follow these steps:
- Grab your Android device.
- We need to allow our Internet Browser (and possibly, File Manager) to install apps from unknown sources. By default, such option is disabled. To enable it, go to Settings and search for ‘unknown source’, then follow the options to allow your Internet browser of choice (e.g., DuckDuckGo, Chrome) to install apps from unknown sources.
- Navigate to the cardforge.org website (see below) to download the latest Forge apk. First, you need to find the latest Forge version available (e.g.,
1.6.53). Then, find the corresponding directory that ends with three additional numbers (1.6.53.001) and enter in whichever one is the highest for the last Forge version (004). Inside such subdirectory, there should be anapkfile that you can download and then install. - After downloading, open the
apkand follow instructions to install Forge. When done, close the install window. - Search for the Forge app icon in your home screen or app list. Then go into its App info > Permissions and allow it access to Files and media (or Storage, depending on which Android version you are running).
- Now, open the Forge app and follow instructions to download the assets (main images, sounds, etc.) and when done, it should ask you to restart the application.
- (Optional.) Once the application is up an running, go to its Settings and check the option to download missing art on demand, just like we’ve done with the desktop release, and the go to the Settings > Files tab and download the Quests, Achievements, etc., missing images as well.
- That is it! Enjoy Forge on your mobile.
Card scripting
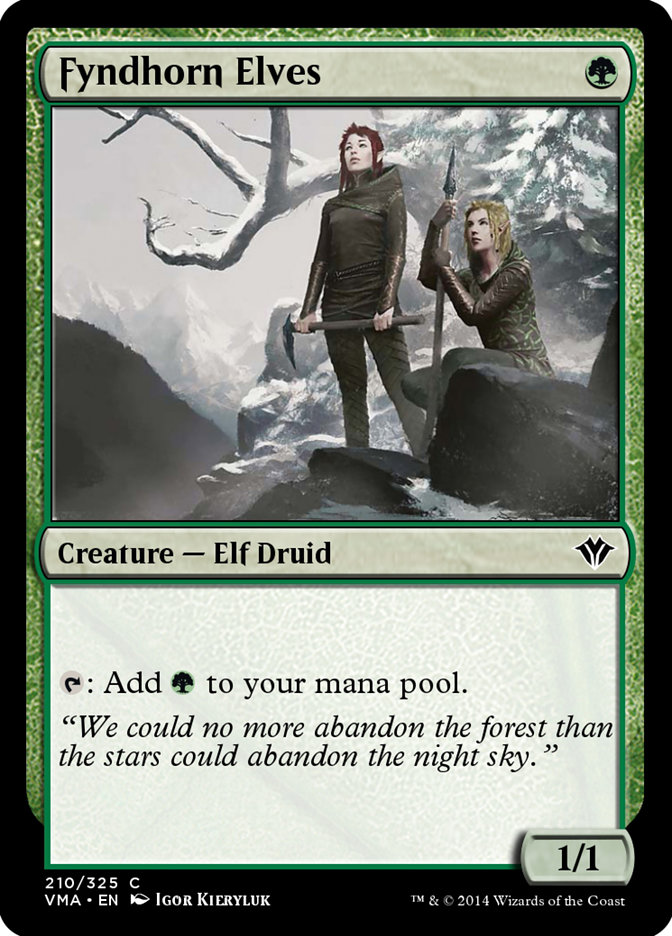
In the res/cardsfolder/ directory of your Forge for desktop application, you will find a compressed directory containing a txt file for each MtG card supported by the Forge RE. Those files are card scripts that tell Forge how each card works via parameters for the various properties, effects, and abilities that each card might have. Take, for example, the card Fyndhorn Elves:
and its script (res/cardsfolder/f/fyndhorn_elves):
Name:Fyndhorn Elves
ManaCost:G
Types:Creature Elf Druid
PT:1/1
A:AB$ Mana | Cost$ T | Produced$ G | SpellDescription$ Add {G}.
Oracle:{T}: Add {G}.
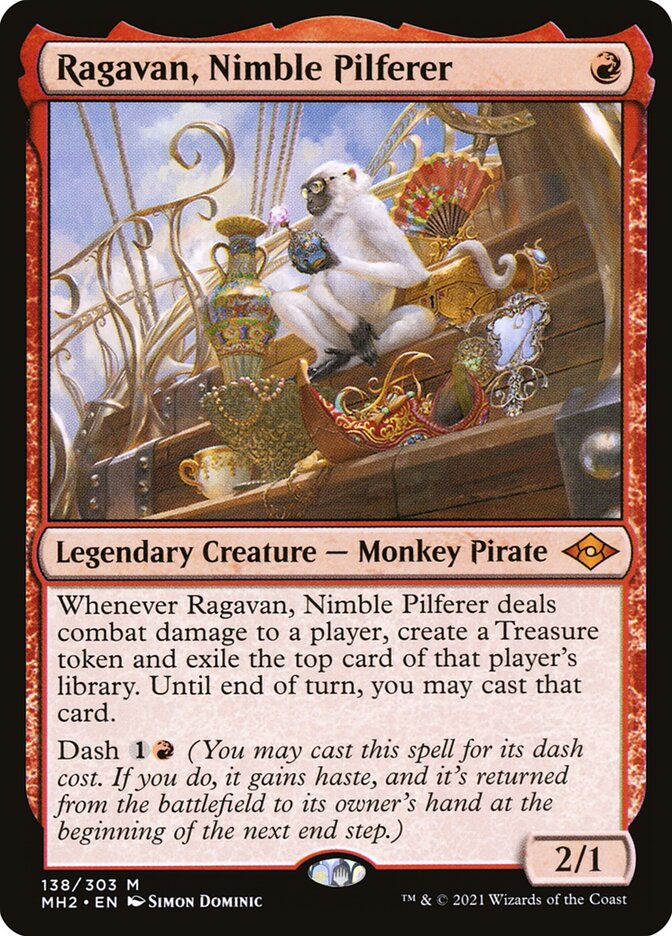
As you can see, the card script is not written in Java or any other high level language and for the most part, its structure and parameters are quite intuitive, which means that anyone can help writing card scripts for upcoming sets, even if you are not a developer yourself. Of course, some cards can be more complex than others. Take a look, for example, at Ragavan, Nimble Pilferer:
Name:Ragavan, Nimble Pilferer
ManaCost:R
Types:Legendary Creature Monkey Pirate
PT:2/1
T:Mode$ DamageDone | ValidSource$ Card.Self | ValidTarget$ Player | CombatDamage$ True | Execute$ TrigTreasure | TriggerDescription$ Whenever CARDNAME deals combat damage to a player, create a Treasure token and exile the top card of that player's library. Until end of turn, you may cast that card.
SVar:TrigTreasure:DB$ Token | TokenAmount$ 1 | TokenScript$ c_a_treasure_sac | TokenOwner$ You | SubAbility$ TrigExile
SVar:TrigExile:DB$ Dig | Defined$ TriggeredTarget | DigNum$ 1 | ChangeNum$ All | DestinationZone$ Exile | RememberChanged$ True | SubAbility$ DBEffect
SVar:DBEffect:DB$ Effect | StaticAbilities$ STPlay | ForgetOnMoved$ Exile | RememberObjects$ Remembered | SubAbility$ DBCleanup
SVar:STPlay:Mode$ Continuous | MayPlay$ True | EffectZone$ Command | Affected$ Card.IsRemembered+nonLand | AffectedZone$ Exile | Description$ Until end of turn, you may cast that card and you may spend mana as though it were mana of any color to cast that spell.
SVar:DBCleanup:DB$ Cleanup | ClearRemembered$ True
K:Dash:1 R
Oracle:Whenever Ragavan, Nimble Pilferer deals combat damage to a player, create a Treasure token and exile the top card of that player's library. Until end of turn, you may cast that card.\nDash {1}{R} (You may cast this spell for its dash cost. If you do, it gains haste, and it's returned from the battlefield to its owner's hand at the beginning of the next end step.)
However, you can write scripts for whatever you feel comfortable with, for just a single card from an upcoming set or a bunch of them. The specifics of the so-called card API can be found at the Forge Wiki - Card Scripting API. To learn about which cards have not been scripted yet, check the Projects tab, which should list a few (upcoming) sets and the status of each card.
Writing card scripts for the Forge RE project is a great way to contribute and if you want to get involved, check the Contributing section of this article to learn more about versioning (git) and setting up your project dir. However, before submitting a pull-request (PR) for a new card script, make sure to check the project’s current workflow for such contributions. As a general rule of thumb, go over the project’s wiki (or CONTRIBUTING.md guide) and if you cannot find any info about it, then ask one the maintainers to explain how you can help with such a task.
At the time of writing, for example, there seems to be an open issue for each upcoming card that has not been scripted yet (e.g., issue#974 for the card Windshaper Planetar from the Commander’s Legends: Battle for Baldur’s Gate set) and a successful PR is one that fixes this issue via a commit to the repo’s master branch that adds the new card script(s) (e.g., PR#994).
XMage
XMage, also referred to as Magic is Another Game Engine (MAGE), is a MtG RE that started being developed in the early 2010s and now encompasses both a client and a server for offline or online MtG games. According to the project’s commit history, the first few commits date back to 2010 by users BetaSteward, Loki, and magenoxx. The project has been particularly active since 2018 and is now maintained by a large number of developers and contributors. The official repository is currently hosted on Github (magefree/mage).
A major difference between XMage and Forge is that when launching XMage, you have the option to run it as a client or server or both. In brief, if you are hosting a game, then you need a server, even if you are playing locally against the computer (AI). However, if you are joining a local or remote game, then you need a client. For a single player game against the computer, for example, you need to launch both a server and a client, then within the client, connect to your local server (hosted on the same machine, localhost/127.0.0.1, and XMage’s default port, 17171). Now, to join a game your friend is hosting, all you need is to launch a client but then you also need a network address to join your friend’s server over the WAN. (There are public servers, too, hosted by XMage maintainers. More on this in Client and Server usage.) These bits of technical stuff can sound intimidating to users who are not very familiar with networking concepts but XMage developers were kind enough to make these tasks a matter of clicking on a few buttons and once you get the hang of it, it becomes very trivial to start new MtG games with XMage.
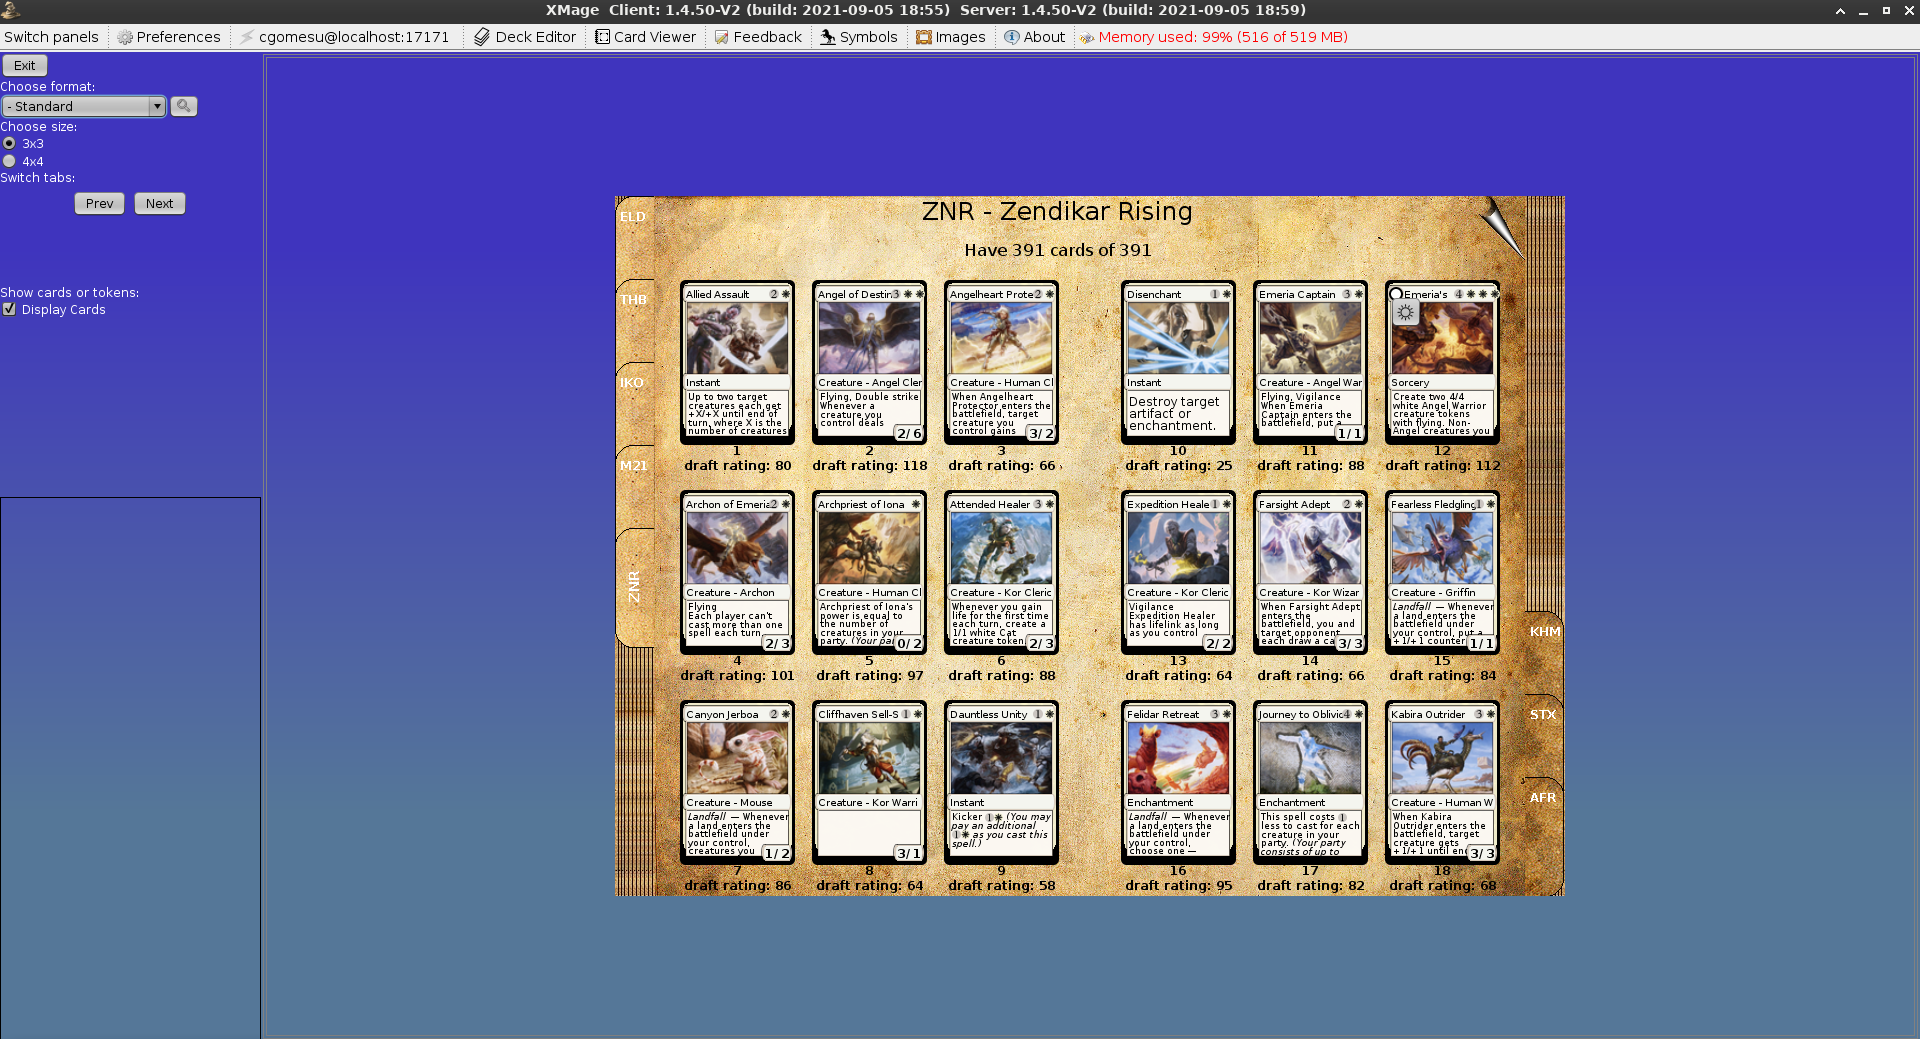
In addition, XMage’s client has another unique feature, called card viewer, that allows users to browse MtG collections. When I used to play paper MtG, I carried multiple binders with me that contained my most valuable cards and XMage’s card viewer is very reminiscent of such binders. It is also an interesting mode to browse cards from a new set to get yourself familiarized with them and see what could be tested and added to an existing deck.
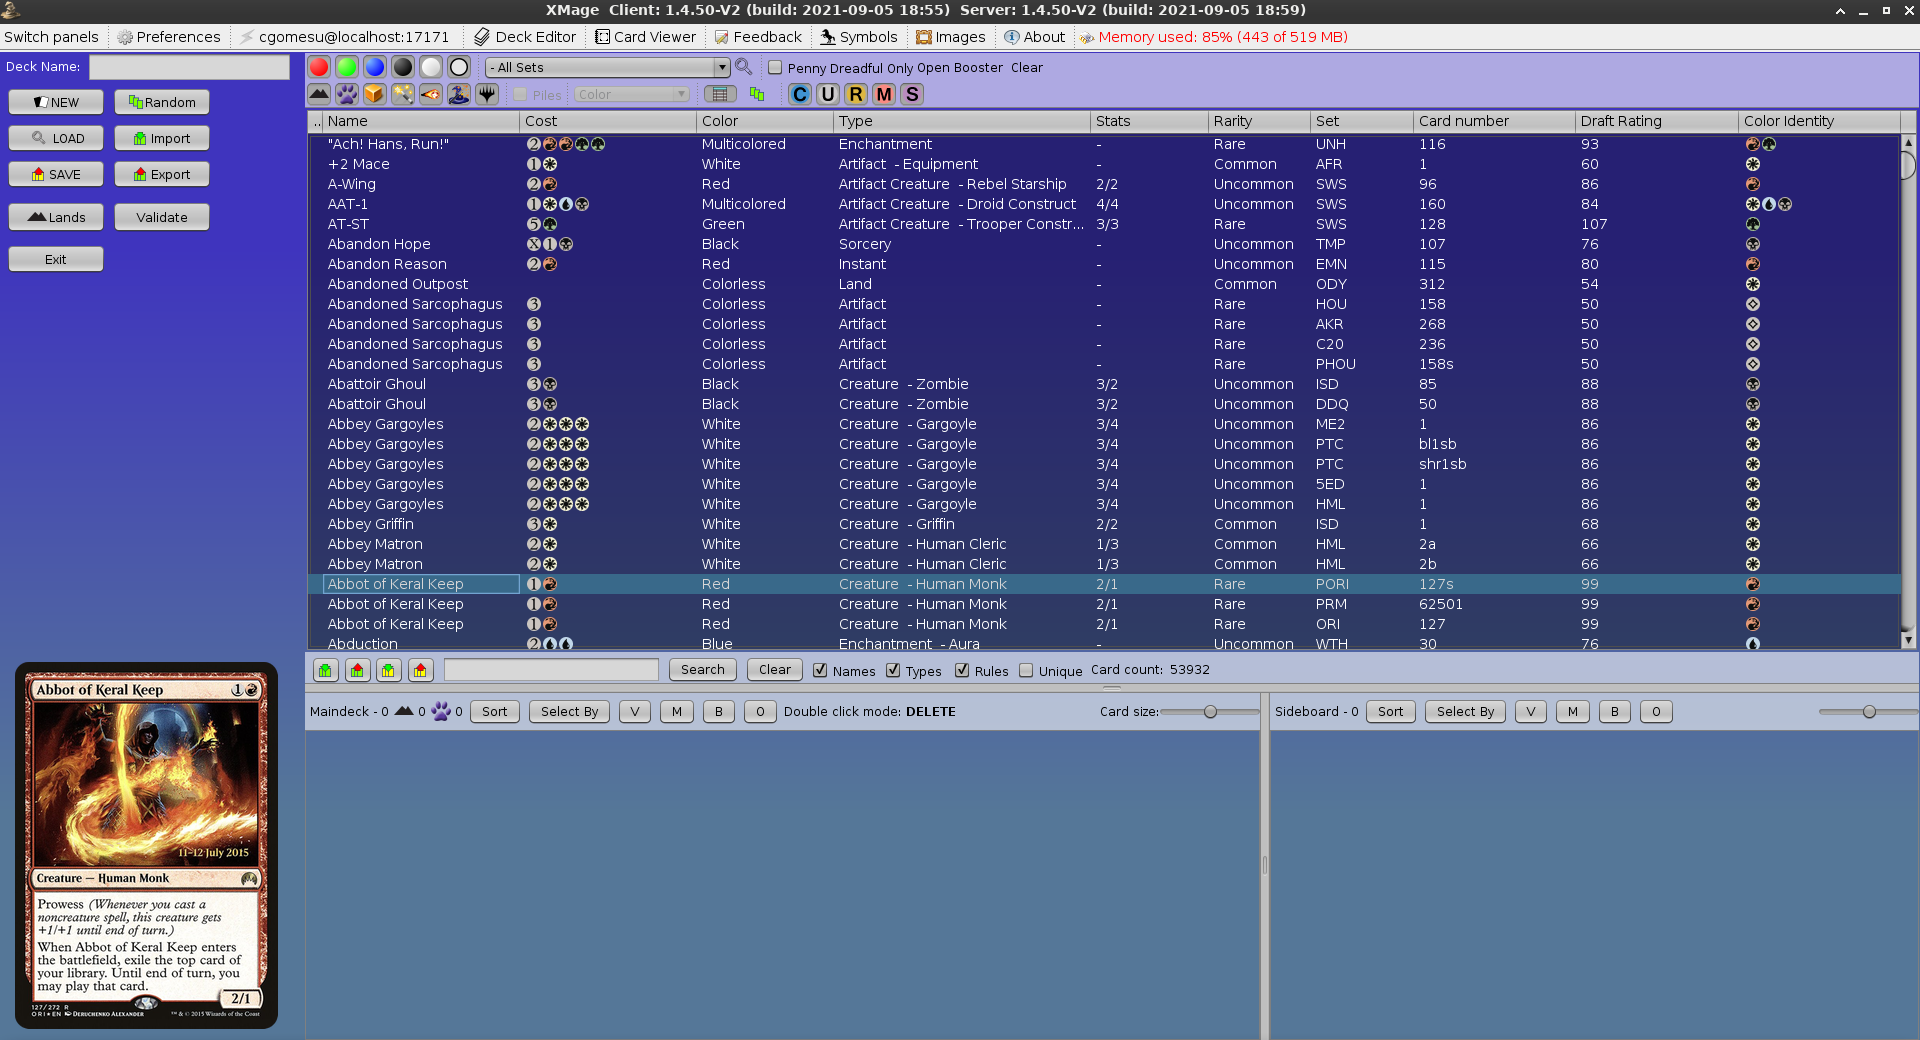
As expected, XMage features a comprehensive implementation of a deck editor. This can be found when launching a client, under the tab properly dubbed Deck Editor. Within the editor, users can lookup cards, use filters, preview art, build new decks for various formats, customize existing ones, import/export deck lists, and so on.
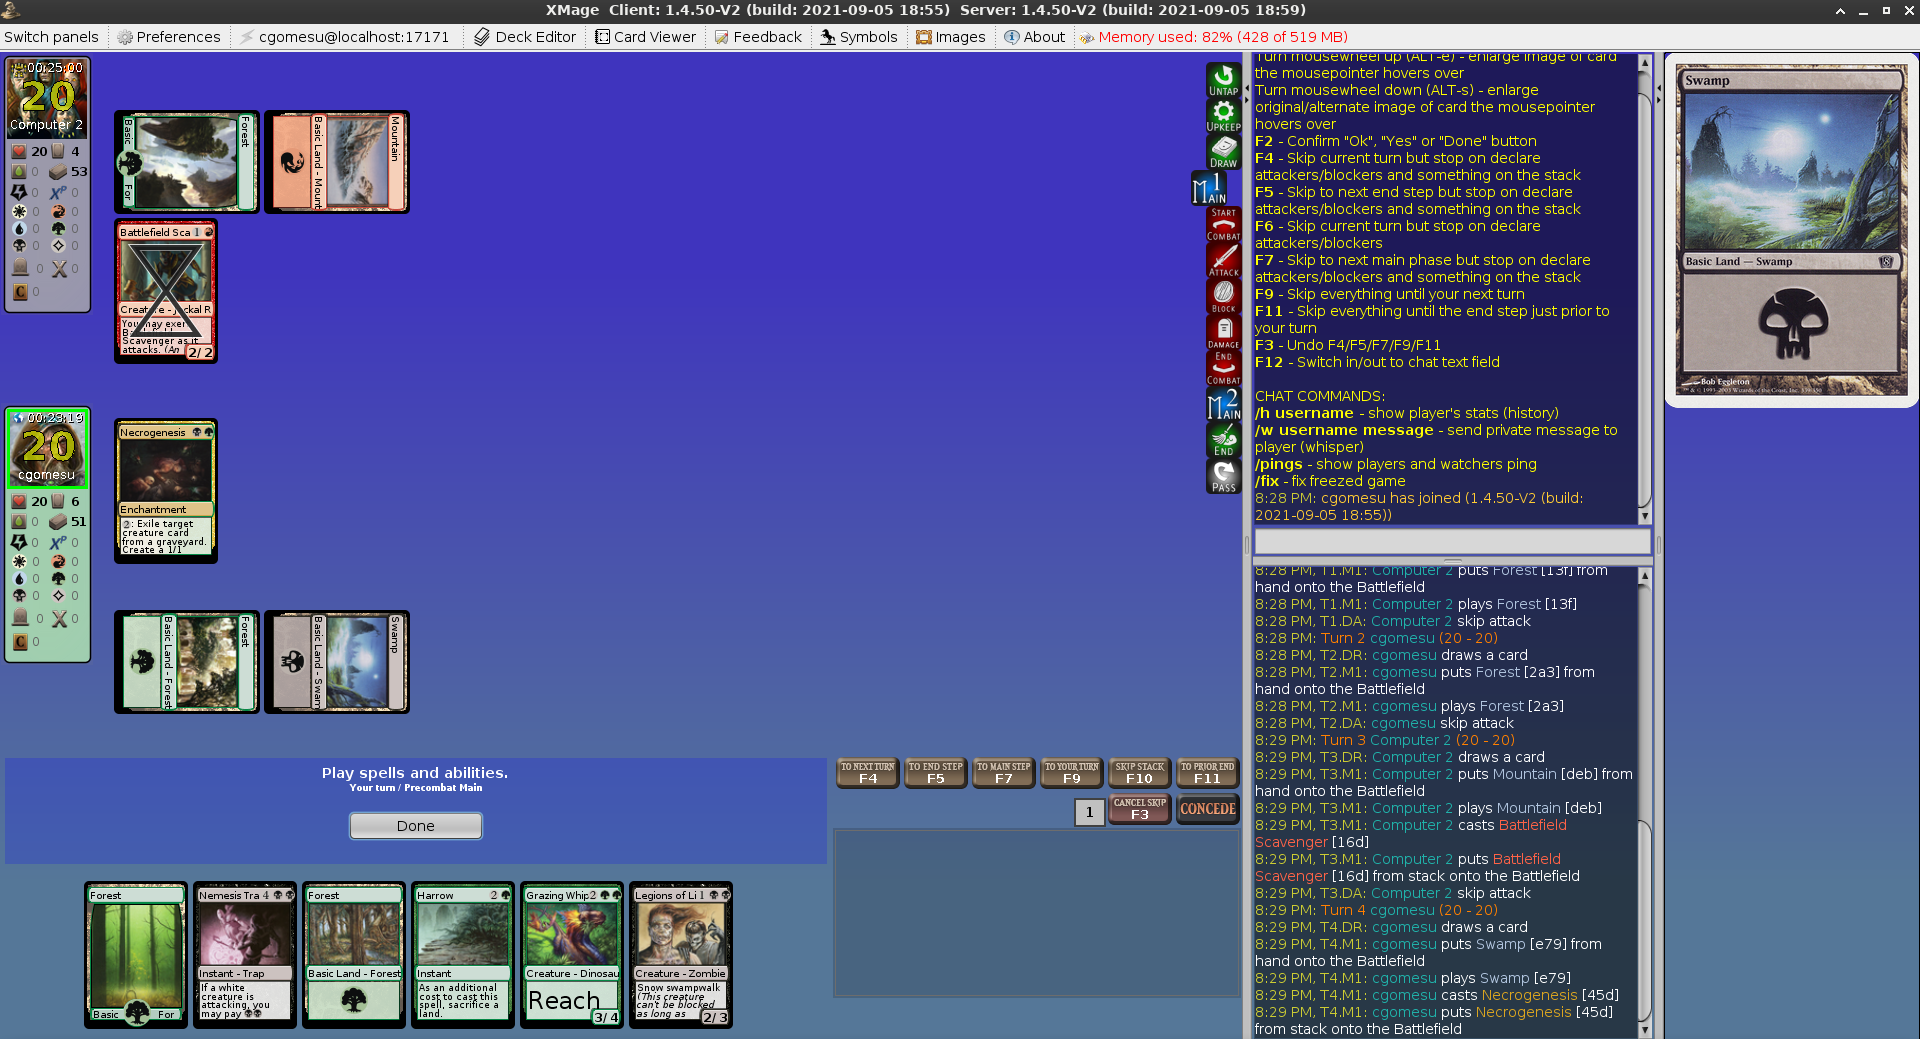
Regarding XMage’s client interface, it is also possible to select themes for it. However, the number of options is more limited than in Forge and the visual changes are rather minor in most cases. (I personally like the Default one and Grey.) Visually, a game of MtG on the XMage client reminds me a lot of the old Magic Online with Digital Objects (MODO)–a WotC MtG RE that preceded MTGO–so it can feel a bit nostalgic to play MtG on XMage if you have also experienced the MODO days.
Gameplay demo
Getting started
The requirements to run XMage are almost identical to Forge. That is, it needs a JRE to run and the user experience is much better with a larger screen than what you would get using a tiny laptop / tablet. However, contrary to Forge, you should plan on saving a long time for the XMage initial setup because it takes multiple hours for it to finish downloading all the missing images.
You might want to install XMage at night and leave your computer running overnight while XMage downloads the missing art, for example. You most definitely do not need to monitor XMage while it performs such task.
The following table provides a summary of the software I used to run XMage at the time of writing:
| application | version |
|---|---|
java (host) |
openjdk 11.0.15 2022-04-19 |
java (XMage) |
1.8.0_201 |
xmage launcher |
0.3.8 |
xmage client |
1.4.50-v2 build: 2021-09-05 |
xmage server |
1.4.50-v2 build: 2021-09-05 |
Installation
-
Requirements
As mentioned before, XMage requires a JRE to run. For instructions on how to install JRE on your host machine, please refer to the Forge installation requirements because they are identical.
-
Download and install XMage
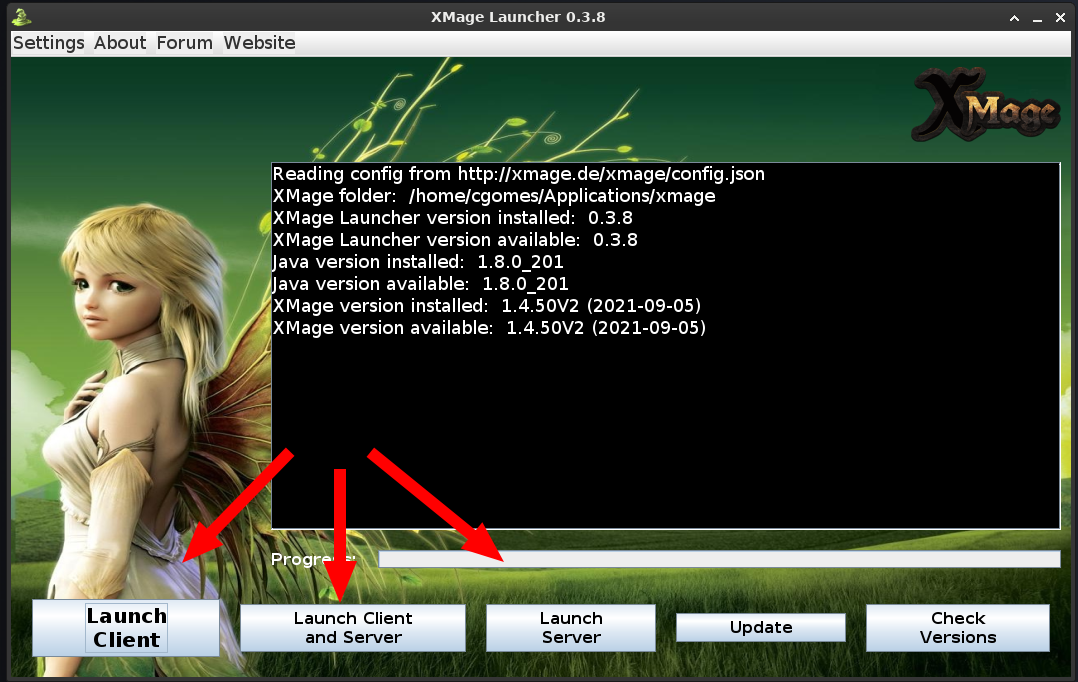
The XMage RE can be divided into three distinct applications, namely launcher, client, and server. The launcher is used to manage both the client and the server–that is, it checks the requisites, what client and server versions are installed, if they are up-to-date, and whether you want to start a client or a server or both. Therefore, the installation starts with the XMage launcher, which you can manually download from the beta website:
or via terminal, using curl to download the launcher to your user’s
Downloadsdir:cd ~/Downloads/ XMAGE_DOMAIN="http://xmage.today/" XMAGE_SUBDIRS="files/" XMAGE_FILE=$(curl -s $XMAGE_DOMAIN | grep -m 1 -oE "mage-full.*\.zip") XMAGE_URL="$XMAGE_DOMAIN$XMAGE_SUBDIRS$XMAGE_FILE" curl -L -o "$XMAGE_FILE" "$XMAGE_URL"Of note, the official website is (or used to be) http://xmage.de but it has been down for quite some time now and the
xmage.todaydomain, which hosts the beta client, is currently the suggested alternative.Before executing the launcher, you should define where the XMage application will be stored because the launcher will create subdirs for the client and server inside the same directory it currently resides. As I mentioned before, I like to put all such applications inside a directory called
Applicationsin my user’s$HOME:if [ ! -d "$HOME/Applications/" ]; then mkdir "$HOME/Applications"; fi cd "$HOME/Applications/"Now we can create a separate dir for XMage and move the launcher there:
XMAGE_DEST="XMage Beta"
mkdir "$XMAGE_DEST"
mv "$HOME/Downloads/$XMAGE_FILE" "./$XMAGE_DEST/"
cd "$XMAGE_DEST"
Unzip the downloaded file into the current directory:
unzip "$XMAGE_FILE"The XMage launcher is a Java archive (
jar) file, so to execute it, run the following:java -jar ./XMageLauncher-*.jarYou should now be able to see the launcher’s GUI and it will start checking for missing requisites. Simply follow the instructions until the option to Launch Client becomes available. When you get to this point, you should be done installing the client and the server.
-
Initial configuration
Once the launcher is done installing the missing components, select Launch Client to download the missing content (symbols and images). You will be greeted by a Connect to server window but for now, we won’t connect to any XMage server, so hit Cancel in order to access the tabs at the top of the client’s window.
First, select Symbols and follow instructions to download such image files. When done, select Images, then Standard download and optionally, you might configure options different than default but I suggest to use defaults, and then hit Start downloading.
This will take multiple hours to finish. Just keep it running in the background and come back later to check on it.
When you are done downloading the missing content, you can optionally go to Preferences and customize the XMage client to your liking. However, if this is your first time, then try the defaults first and change preferences as you become more familiar with the interface.
Afterwards, close both the XMage client and then the XMage launcher and you are all done with the client configuration.
Now, it is possible to run either the client or the server or both without using the launcher but I strongly suggest to always use the XMage launcher because it is the launcher that ensures you are running the latest XMage components. However, instead of opening a terminal to run the launcher every time you want to use XMage, you can create a custom launcher for it, just like we have done with Forge. (Once again, in GNU/Linux, the specifics of creating a custom launcher depends a lot on the desktop environment and most of them have documented such procedure, so I won’t cover this here.) Here is how my XMage custom launcher configuration looks like in Debian 11 XFCE:
The
-Djava.net.preferIPv4Stack=trueruntime arg is probably not necessary but since it is mentioned in the XMage documentation, I also added it here. It just tells Java to favor IPv4 over IPv6, probably because XMage has/had an issue with the latter. However, I’ve never noticed any problems without setting it.
Client and Server usage
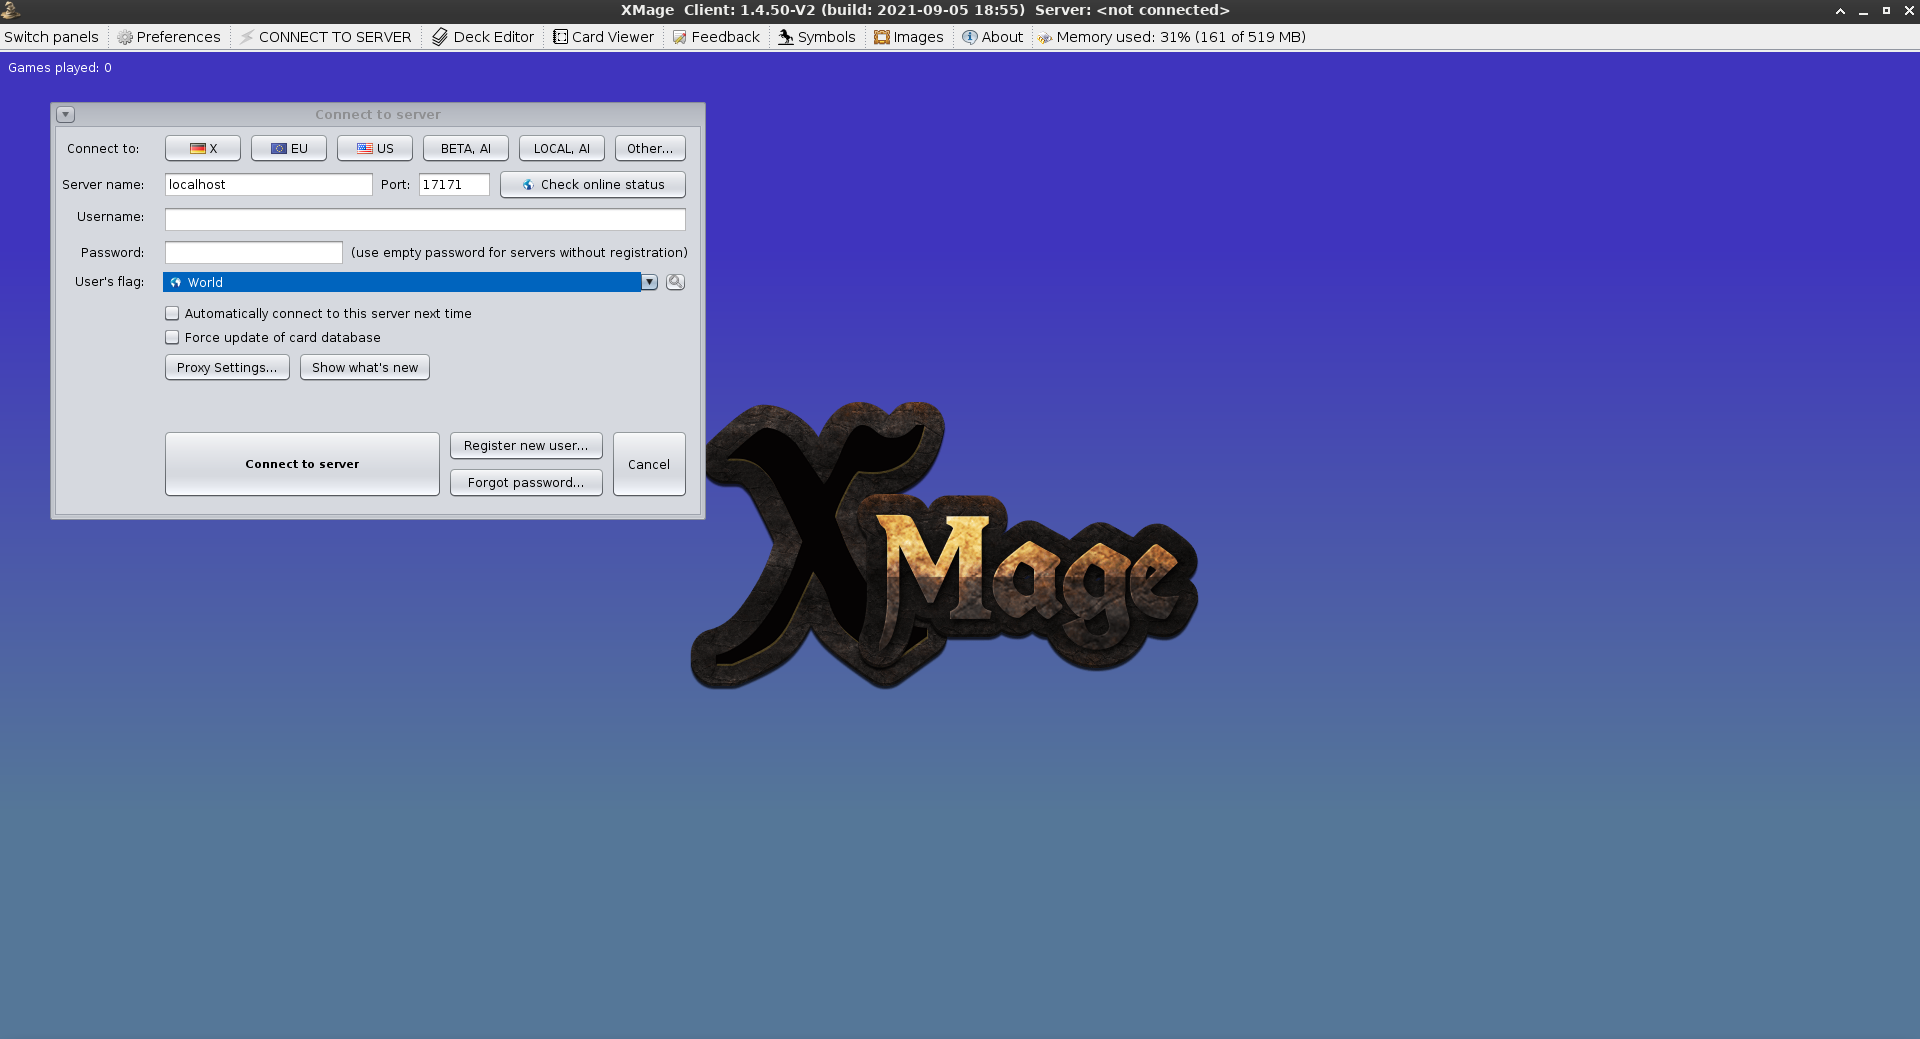
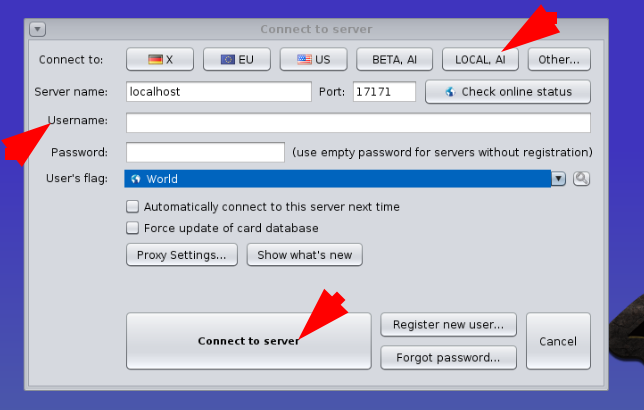
For most users, the steps covered so far are enough to start playing MtG using the XMage RE. For a single player match against the computer(s), you need to launch both server and client from within the XMage launcher. This will prompt XMage to start a local server that your XMage client can connect to. To connect to your local server, select LOCAL, AI, then enter your username (e.g., cgomesu) and then select Connect to server:
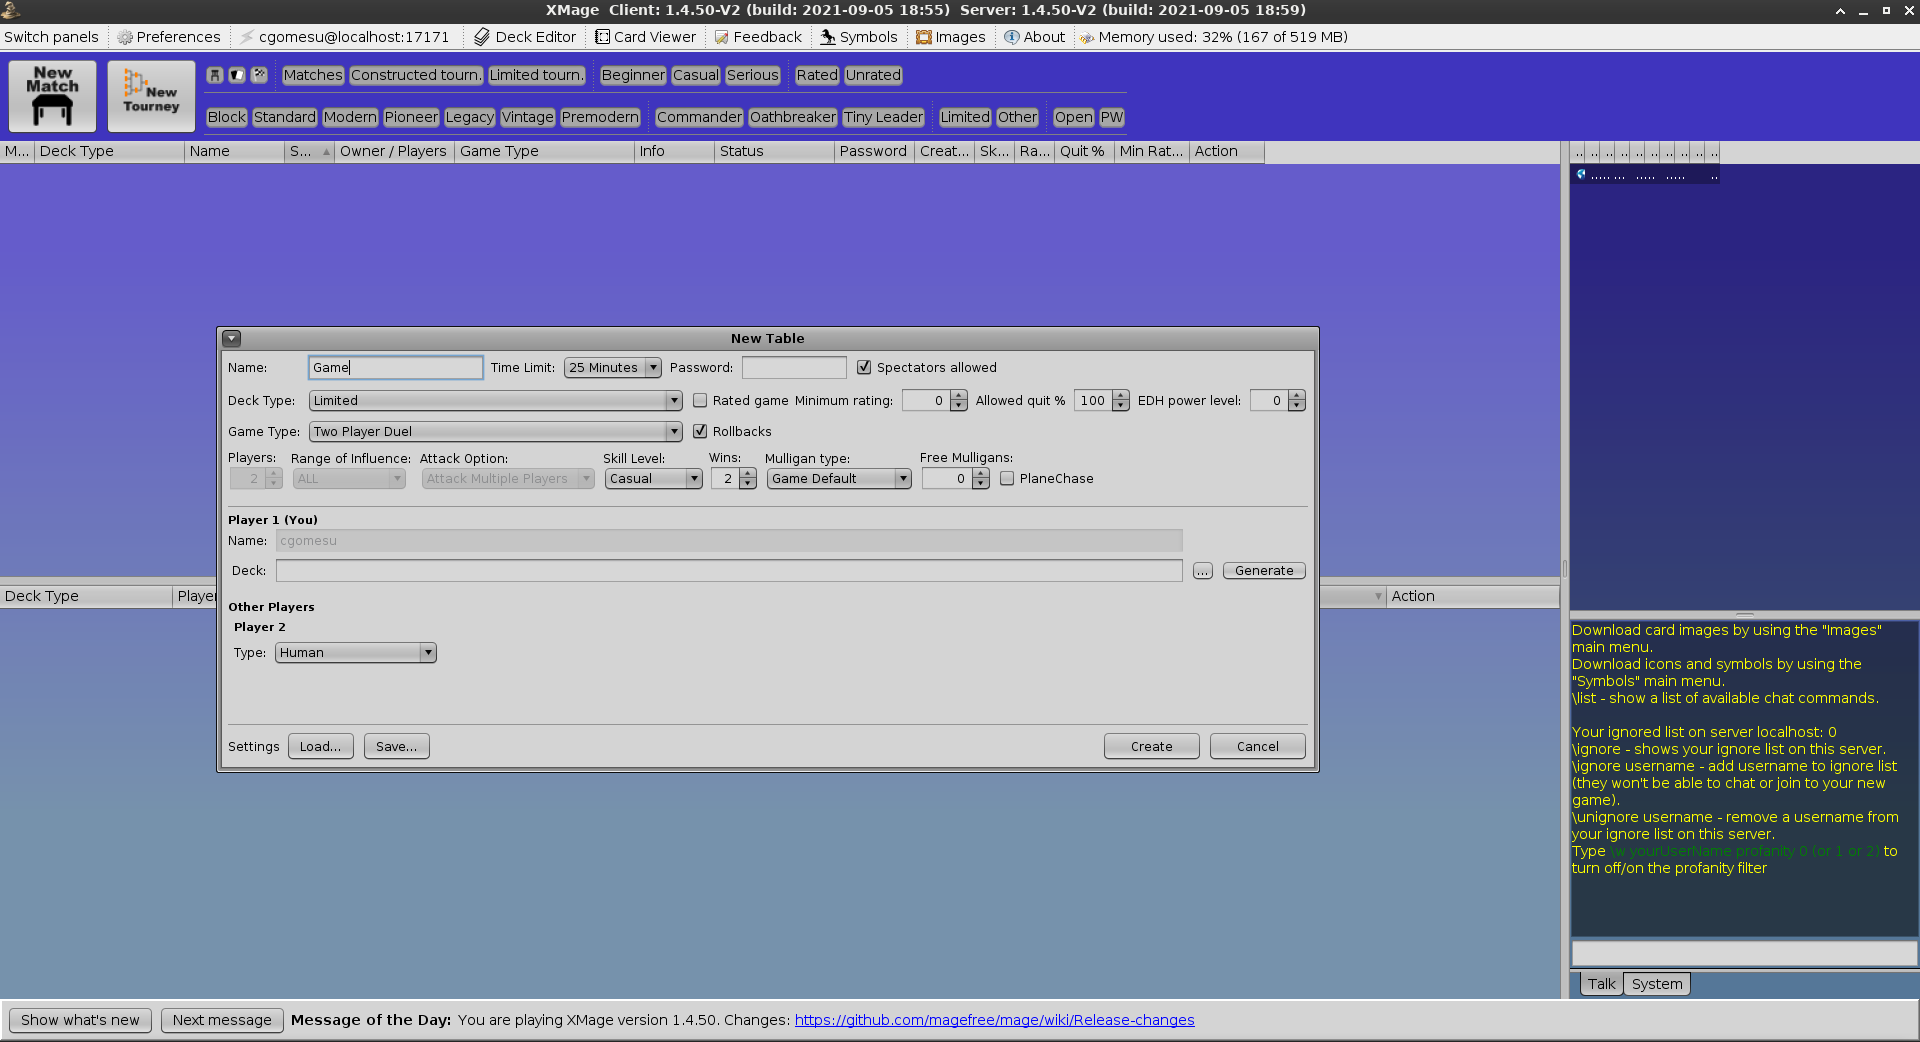
This will let you create a New Match and then configure the type of game you want to play, decks to use, and so on:
For Constructed type of games, use the mad computer type.
However, if you want to play online with friends, then one of you will have to run an XMage server that is reachable to the other players via a public IP and port number (or for the tech savvy, via a domain name, such as xmage.cgomesu.com). In such cases, I strongly recommend the person running the server to take a look at additional server configuration instructions that can be found in XMage Wiki - Server configuration.
There are public servers as well but I’ve never used them before. Take a look at the following resources for more information:
Finally, it is also possible to play against a friend who is on the same local network as you, which works just like a LAN party. The specifics are similar to the online play but instead of adding a remote address to the connection window, you specify the local IP address of the host running the XMage server (e.g., 192.168.1.100) and port, if different than default (17171). Once all the players have joined the server, you can then configure and create a match for your friends to join.
Contributing
Both Forge and XMage are community-driven FOSS projects, which means that anyone can help maintain those projects but if no one does that, the projects will simply die out as developers move onto other things. Fortunately, if you use and enjoy these projects, there are many things you can do to contribute to their continuing development. The most obvious one is via financial incentives, that is, donations. Currently, none of these projects has a proper channel that people can use to donate money specifically towards development and maintenance of the project’s public repository. I reached out to the maintainers of each project and the only donation channels that I found (and thought would be appropriate to share here) are the following:
- Donations
- Forge:
- https://ko-fi.com/forgedonations: Help supporting hosting costs Forge has had over the years.
- XMage:
- http://xmage.today/#donate: At the time of writing, donations go to the lead maintainer of the XMage project, @JayDi85, who is also responsible for a few of the public servers.
- Forge:
However, financial incentive is not the only way to contribute. In next few sections, I mentioned additional ways to contribute that do not involve money but actual work.
Reporting issues
One of the easiest ways to contribute is by providing feedback regarding issues with one or more components of each application. This is done via an issue tracker which in both cases, is currently done via the project’s Github repository:
Before submitting an issue, always search for a related keyword in issues that are still open (is:issue is:open filter) or closed (is:issue is:closed). If you cannot find anything related, then open a new issue and importantly, if the project has a template for submitting an issue, which is enforced when it is opened, then read and follow the template. This saves a lot of time for you and the maintainers.
Card scripting
Of the two MtG REs covered here, Forge is the only one that supports card scripting. This is something that anyone can do because it does not require knowledge about Java, IDEs, and object-oriented programming. If this sounds like something you can help with, take a look at the Card scripting section covered before.
Project development
Java is the language of choice in both projects. So, if you want to contribute to the development of the RE itself, then you will need to be at least familiar with Java and git versioning. The maintainers of both projects were kind enough to document useful information about development for anyone interested in helping out. You can find such info in the Wiki of each project:
If you are not familiar with Java or git but want to learn, there are free online resources available:
- Introduction to Java
- Introduction to Git and Github
Final remarks
In this article, I talked about two free and open source MtG REs, namely Forge and XMage. These projects are community-driven and good examples of FOSS applied to gaming. More specifically, they do not attempt to be copies of the official MtG client for Windows (MTGO) but actually introduce many new features (e.g., portability, single player modes, self-hosting MtG servers) that either enhance or complement each other and the official client. If you are a fan of MtG like me, you should definitely check them out and if you enjoyed them, please consider supporting the projects by spreading the word or contributing to their continuing development.

